Do you ever get that warm, fuzzy feeling from creating something unique with your own two hands? We totally do!
What if we told you that with just a bit of fabric and some creativity, you could turn simple napkins into a charming and special detail for your table?
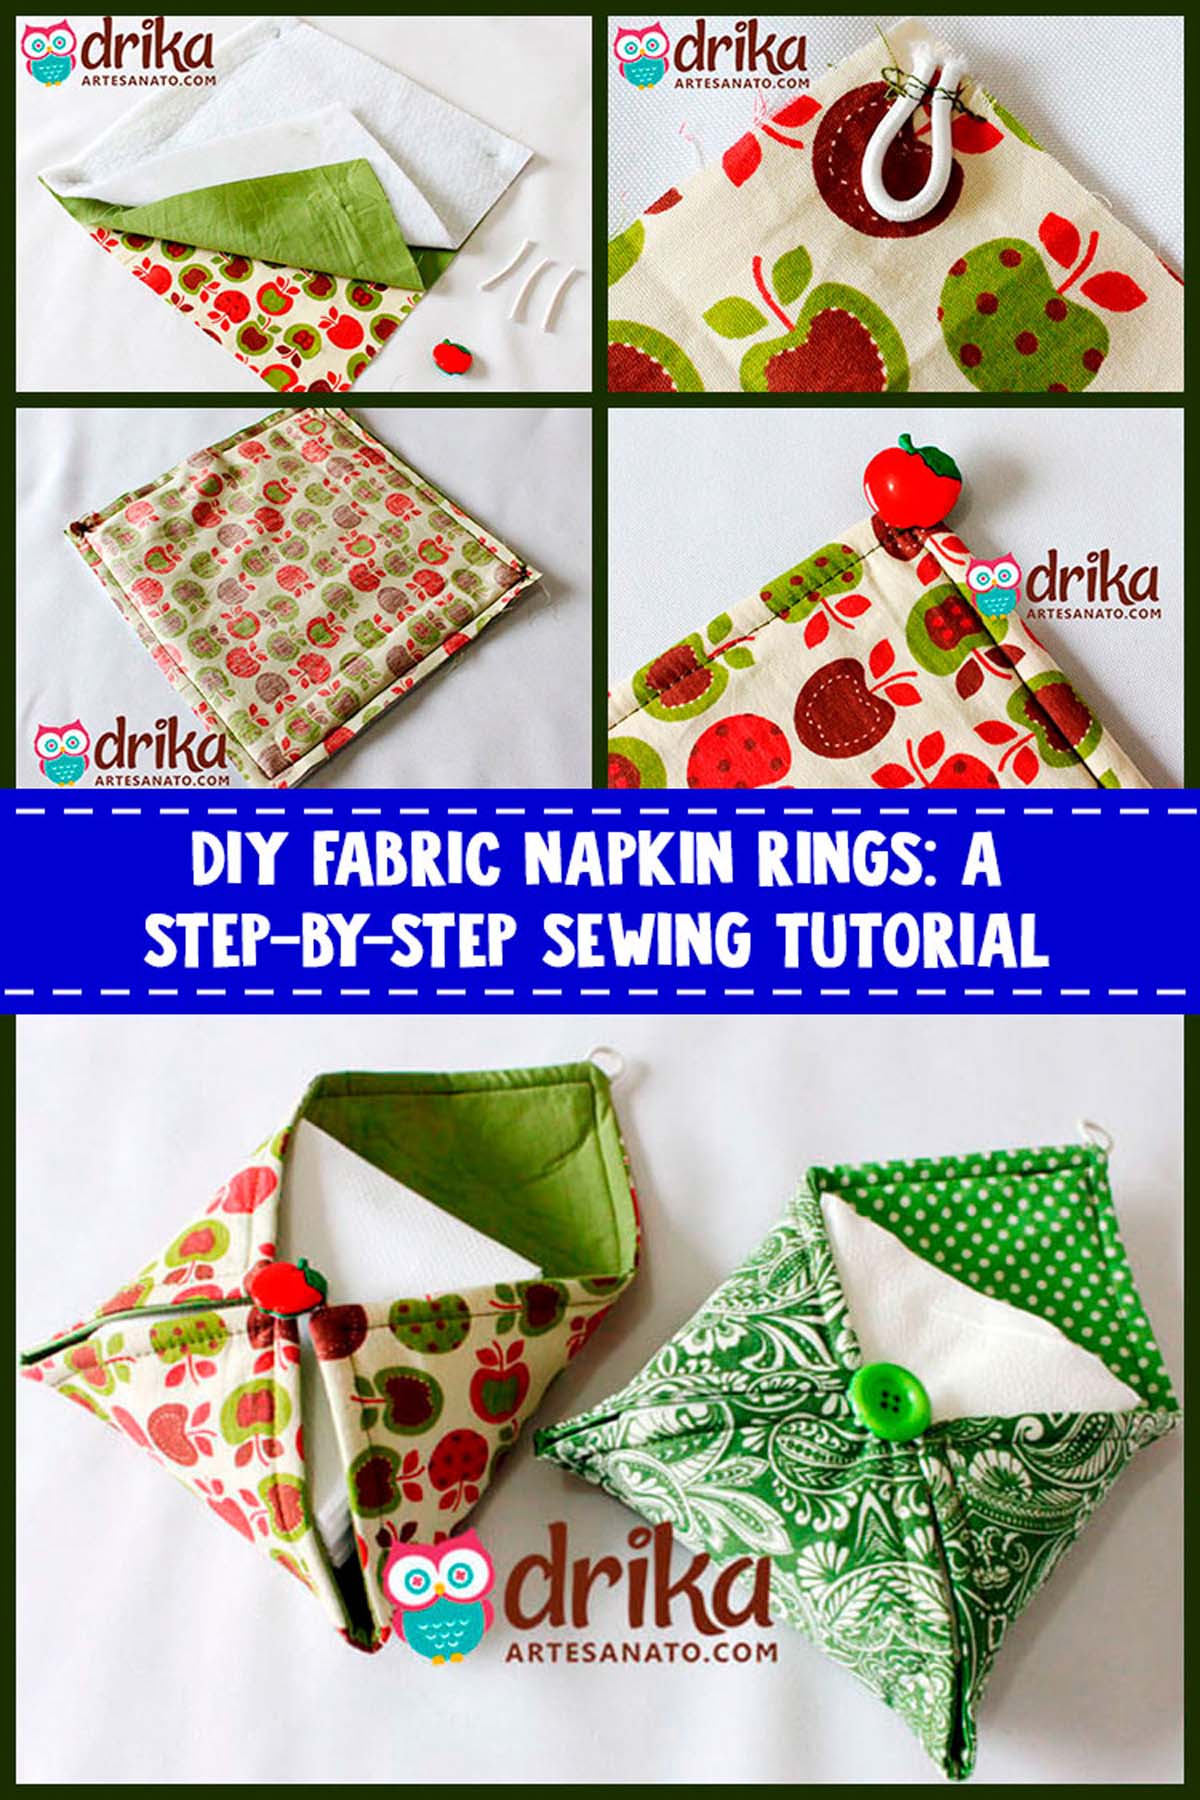
Today, we’re going to show you how to make a Fabric Napkin Ring that’s seriously cute! Besides being super practical, it adds a special touch to your décor, whether it’s for a dinner party at home or a gift for someone special.
Can you imagine the joy of your guests when they see this little handmade treat? Or how popular it would be as a bridal shower favor?
Best of all: it’s a super easy and budget-friendly project! As you can see in the photos, you can use fabrics with apple prints, polka dots, or whatever matches your style. And, as we show on Etsy, you can even sell them and earn some extra cash!
In this complete step-by-step guide, with over 20 detailed photos, we’ll guide you through each stage, from cutting the fabric to the final finishing. And the best part: you can use this technique to create countless variations, exploring different colors, prints, and details.
So, ready to dive in and create a Fabric Napkin Ring that will charm everyone?
Keep reading and discover how easy it is to transform fabric into a touch of charm for your table!
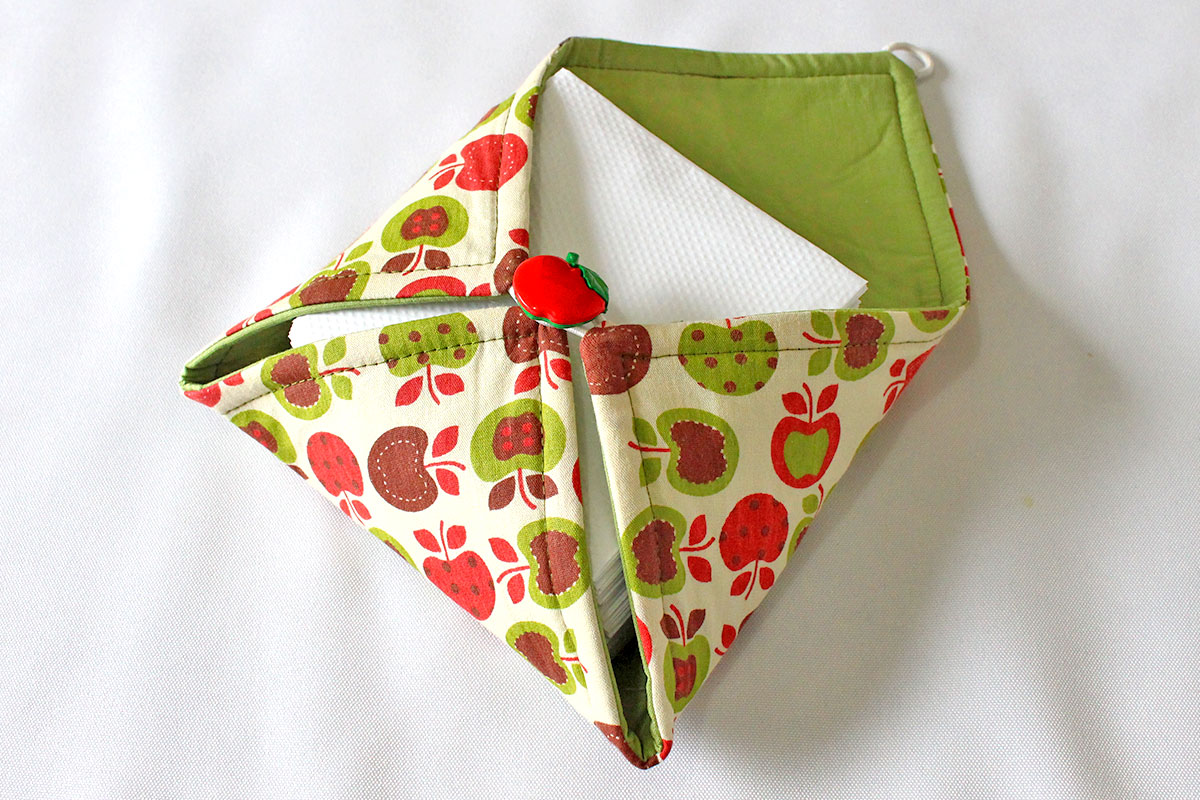
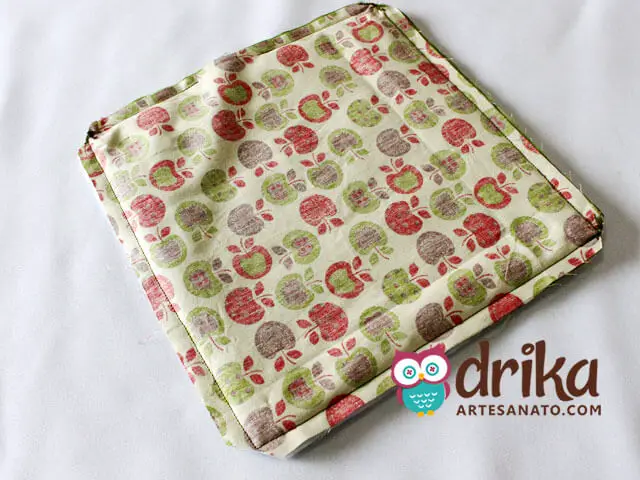
Get Inspired: Apple Napkin Ring for Your Table!
How about a charming napkin ring with apple details?
This model is a great inspiration for you to create unique and enchanting pieces for your table!

Supply List to Make the Fabric Napkin Ring:
- Printed fabric for patchwork, 100% cotton;
- Solid fabric for patchwork, 100% cotton;
- Acrylic batting R1 (has heat-sealable resin on 1 side);
- 3 pieces of 2.75 inches of Round Elastic for sewing;
- Decorative buttons;
- Colorful head pins for patchwork;
- Hand sewing needle;
- Ruler for pattern making and patchwork or regular ruler;
- Rotary cutter for patchwork;
- Cutting mat;
- Sewing scissors;
- Sewing thread 100% polyester or 100% cotton;
- Sewing machine;
- Iron;
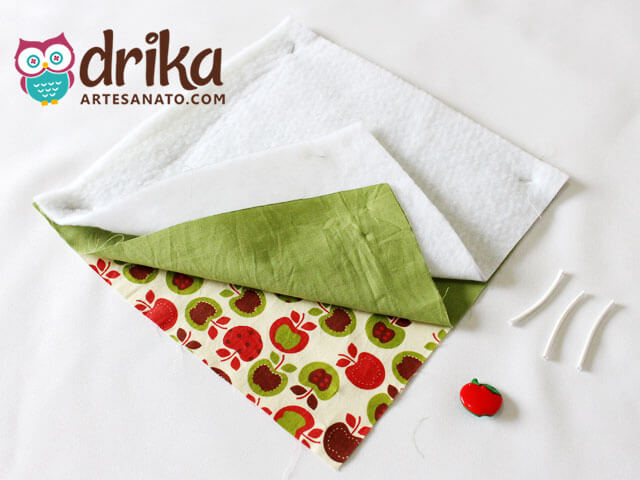
Gather Your Supplies and Prep the Cuts!
To begin, gather all your supplies. With the cutting mat, patchwork ruler, and rotary cutter, cut the fabric and batting to size. This way, you ensure that nothing is missing during assembly.
- 2 squares 9×9 inches of Fabric in different prints;
- 1 square 9×9 inches of Acrylic Batting.
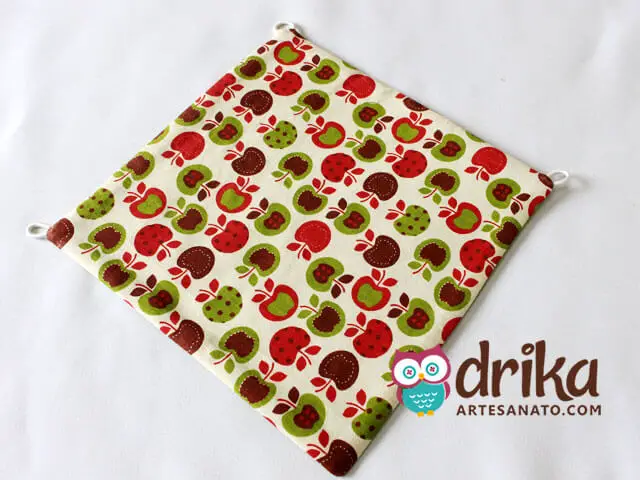
Attaching the Elastics to the Main Print
Take the printed fabric that will be the outside of your napkin ring. Position the elastics on three corners of the fabric, securing them with pins.
Remember to leave one corner without elastic!
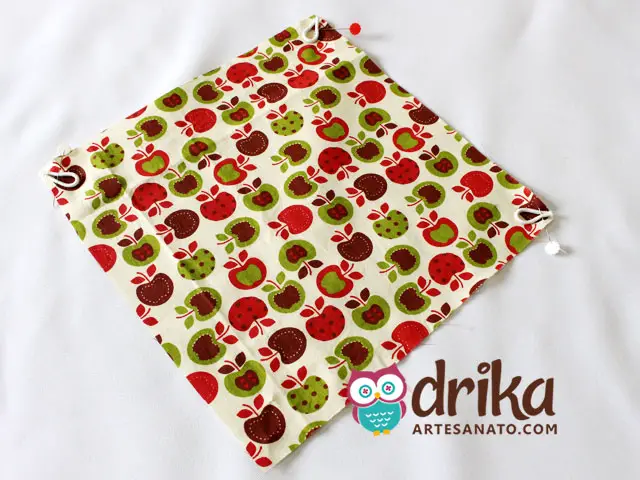
Elastics Pinned: Everything in Place!
Observe how the elastics are pinned. Make sure they are well secured so they don’t move during sewing.
This step ensures the shape of your napkin ring.
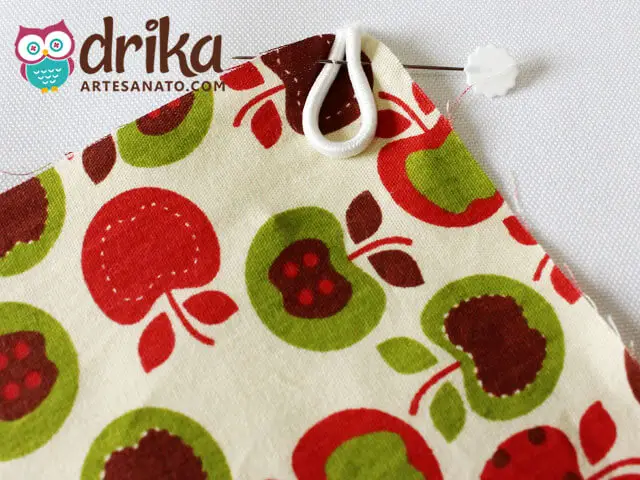
Sewing the Elastics for Attachment
Sew over the elastics several times to attach them firmly to the fabric.
Reinforce the stitching to ensure the elastics don’t come loose with use.
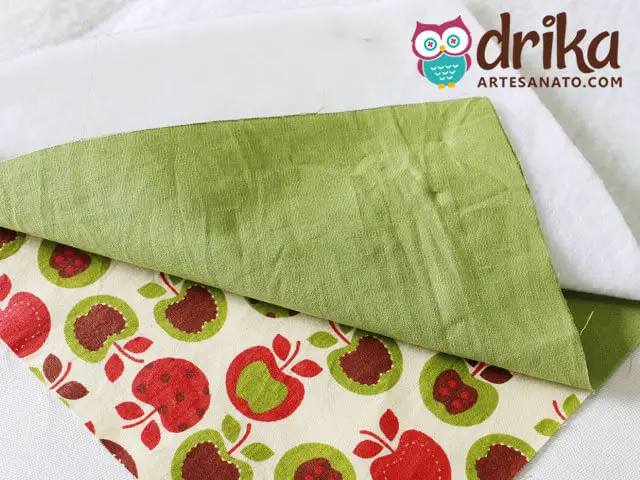
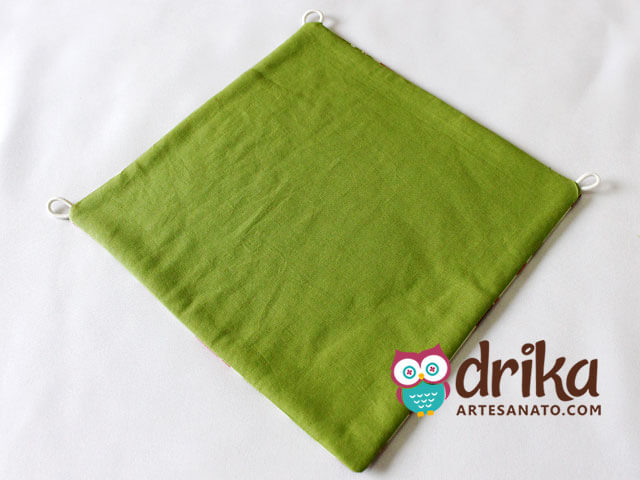
Assembling the “Sandwich” of Fabrics and Batting
Now let’s assemble the “sandwich.” Place the printed fabric (right side up), the plain green fabric (right side down), and the acrylic batting.
This will form the layers of your napkin ring.
Pinning for a Perfect Seam!
Pin the four corners of the “sandwich” to ensure the fabrics and batting don’t shift during sewing.
This prevents the fabric from wrinkling or slipping.

Sewing Around, Leaving an Opening
Sew all the way around, using the machine foot as a guide to keep the seam uniform.
Leave an opening of approximately 2 inches unsewn.
Strategic Opening for Turning the Piece Inside Out
Note the opening in the seam. This is where you will turn the piece right side out.
This opening is essential for finishing your napkin ring.
Perfect Corners: Cut Carefully!
For the seam to be neat at the corners, carefully cut the corners of the fabric.
This reduces bulk and makes it easier to turn the piece, ensuring a cleaner finish.
Turning and Ironing for a Flawless Finish
Turn the piece carefully. Iron to smooth and straighten the fabric.
Close the opening where you turned the piece with an invisible stitch, done by hand.
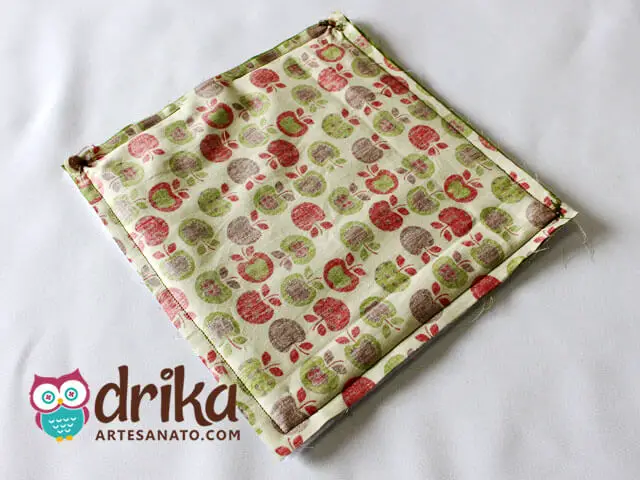
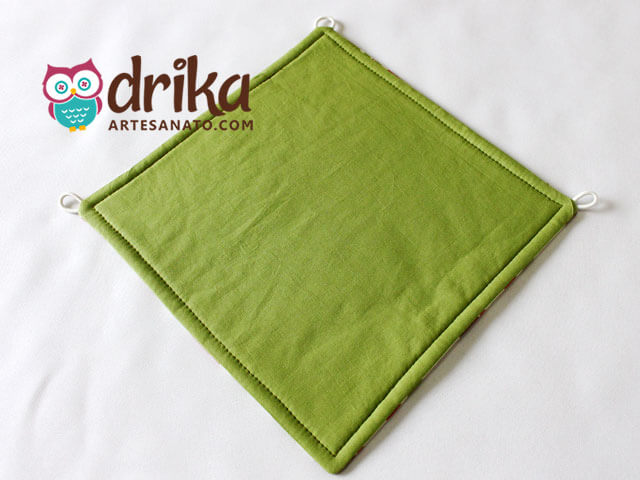
Almost Finished: The Flawless Reverse Side!
Observe the reverse side of the piece. We are almost finishing your beautiful napkin ring.
The invisible stitch ensures a discreet and professional finish.
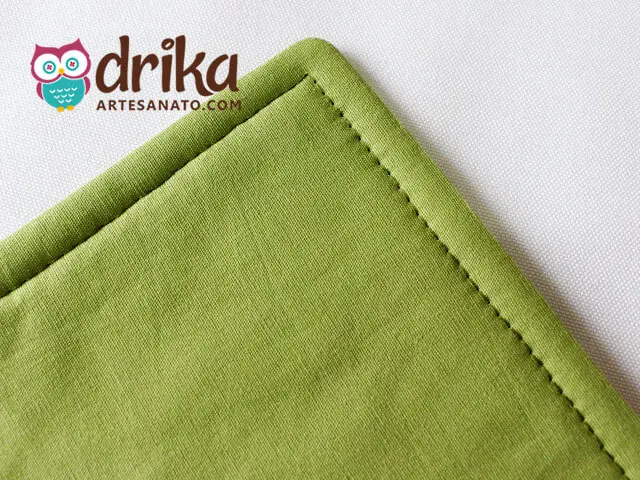
Final Stitching for a Special Touch
Sew all the way around to give the final finish.
Use the machine foot as a guide to keep the seam uniform and ensure a flawless look.
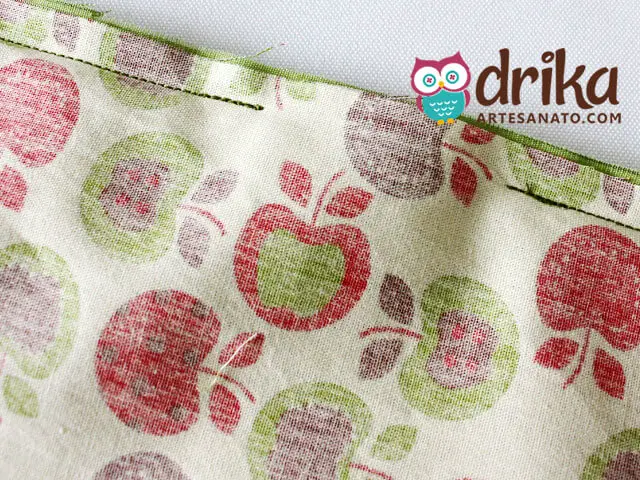
Details of the Finishing Stitching
Take a close look at how the finishing stitching turned out.
It reinforces the piece and adds a final touch of care and professionalism to your napkin ring.
Napkin Ring Almost Ready to Enchant!
Just look how beautiful it’s turning out! We’re almost there.
Soon you’ll have a beautiful napkin ring to enchant your guests and decorate your table.
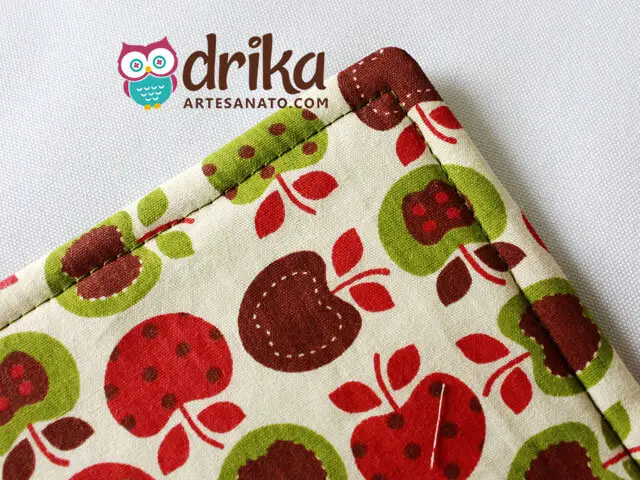
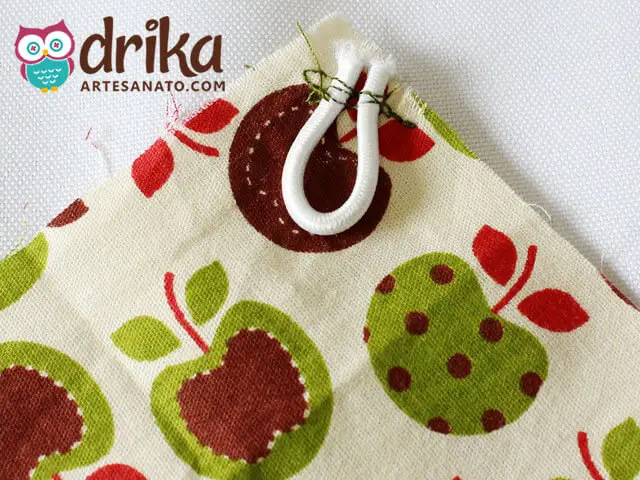
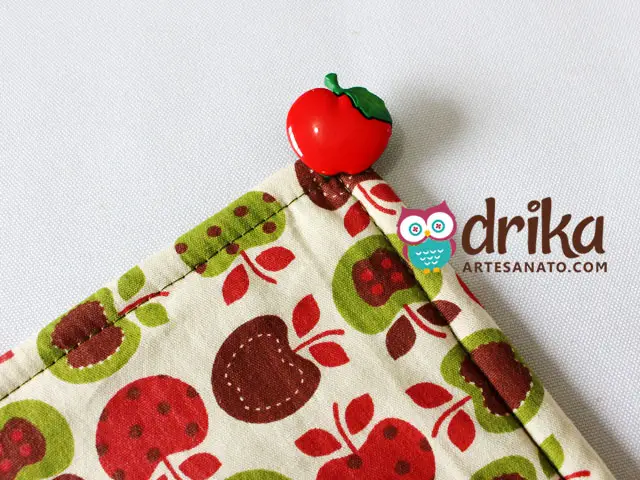
Attaching the Button: The Final Touch of Charm!
Now, with care and attention, sew the button on the corner of the fabric that doesn’t have elastic.
This button will be the closing point of your napkin ring, so make sure it’s well attached!
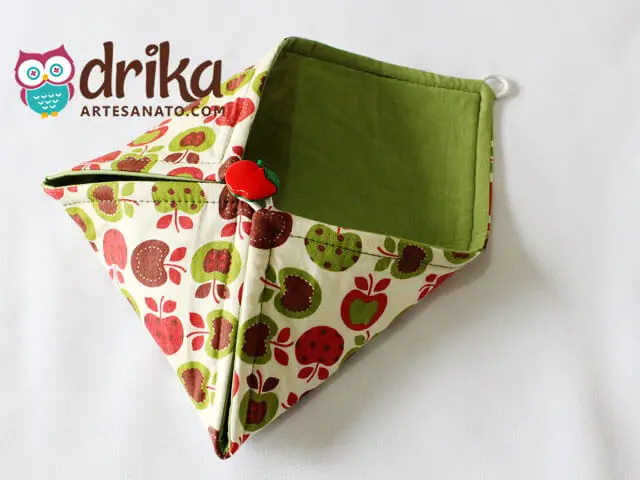
Fitting the Elastics into the Button to Close
The moment has arrived to join the corners! Pass the elastics through the sides of the napkin ring and fit them into the button you just sewed on.
See how it starts to take shape!
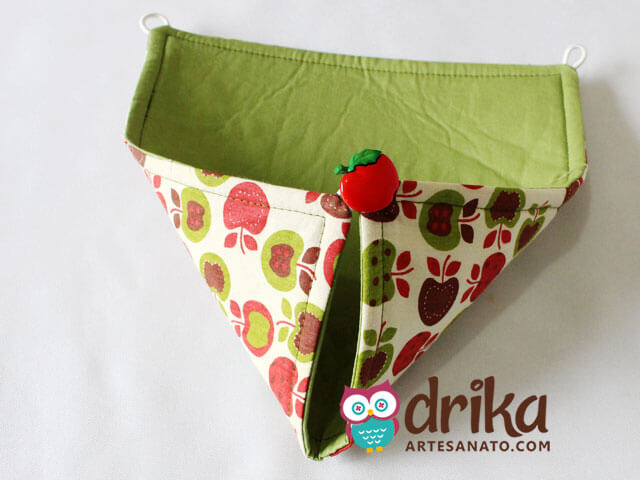
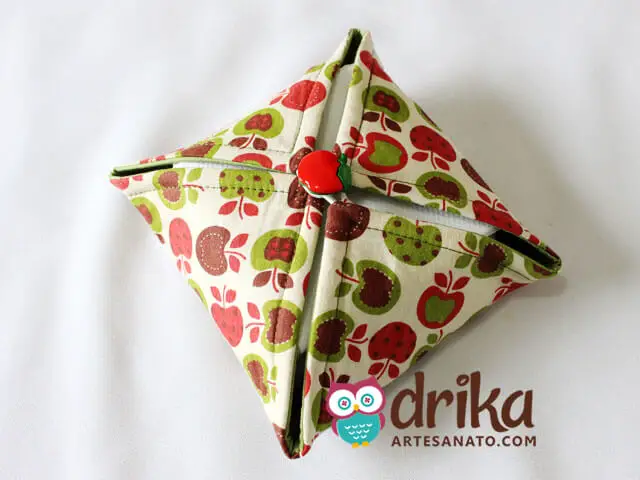
Napkin Ring Finished and Ready to Use!
And done! Your napkin ring is finished and full of charm. See how easy it was?
Now you have a unique and special piece to decorate your table or give as a gift to someone special.
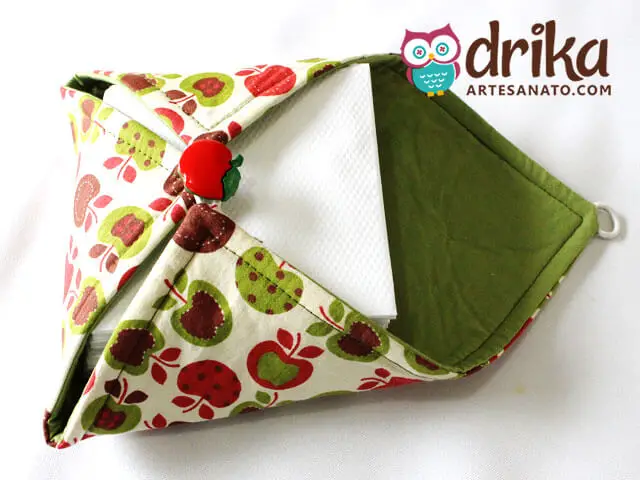
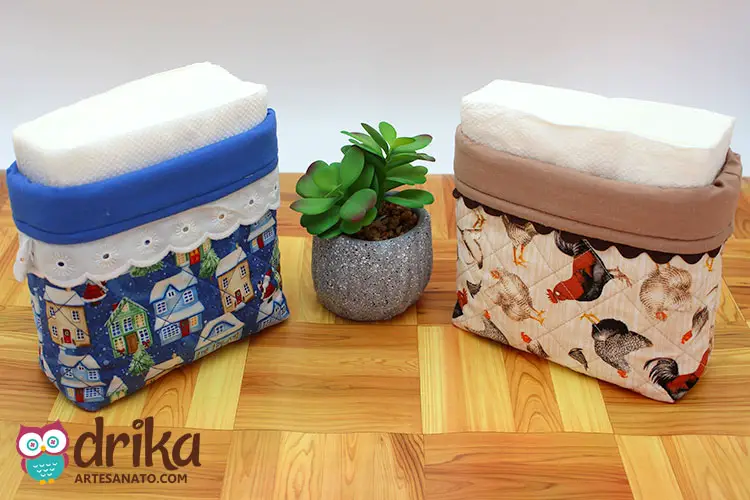
Fitting the Napkins Perfectly
See how the napkins fit perfectly!
This napkin ring was custom-made to ensure your napkins stay organized and protected with style.
Protecting Your Napkins with Elegance
Closed, the napkin ring protects your napkins from dust and other dirt, keeping them always impeccable for use.
A practical and charming solution for everyday use!
Practicality and Charm in One Accessory
When it’s time to use, just open one side and grab the napkins easily.
Practicality and beauty in one accessory, perfect for your everyday life or for special occasions.
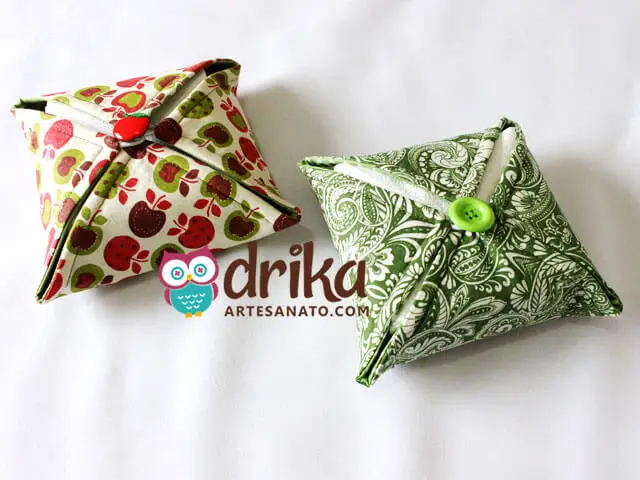
Get Inspired and Create Your Own Models!
We present two models to inspire your creativity!
Let your imagination run wild, combine colors and prints, and create unique napkin rings that reflect your style and personality. Let’s dive in!
Discover Another Incredible Napkin Ring Model!
This is another napkin ring model with a very different proposal that we also made step by step.
By clicking the button below you can see everything in detail!
Get Inspired and Save This Project to Make Later!
Did you like the idea of creating your own fabric napkin rings? How about saving this tutorial on Pinterest to consult it whenever you need inspiration? This way, you’ll always have this enchanting project at hand!
Time to Put Your Ideas into Practice!
So, ready to get started and create beautiful fabric napkin rings?
We hope this tutorial inspires you to produce incredible pieces and decorate tables with lots of charm and originality.
If you loved this idea and want more inspiration, be sure to check out other step-by-step craft tutorials that we have prepared with care for you!