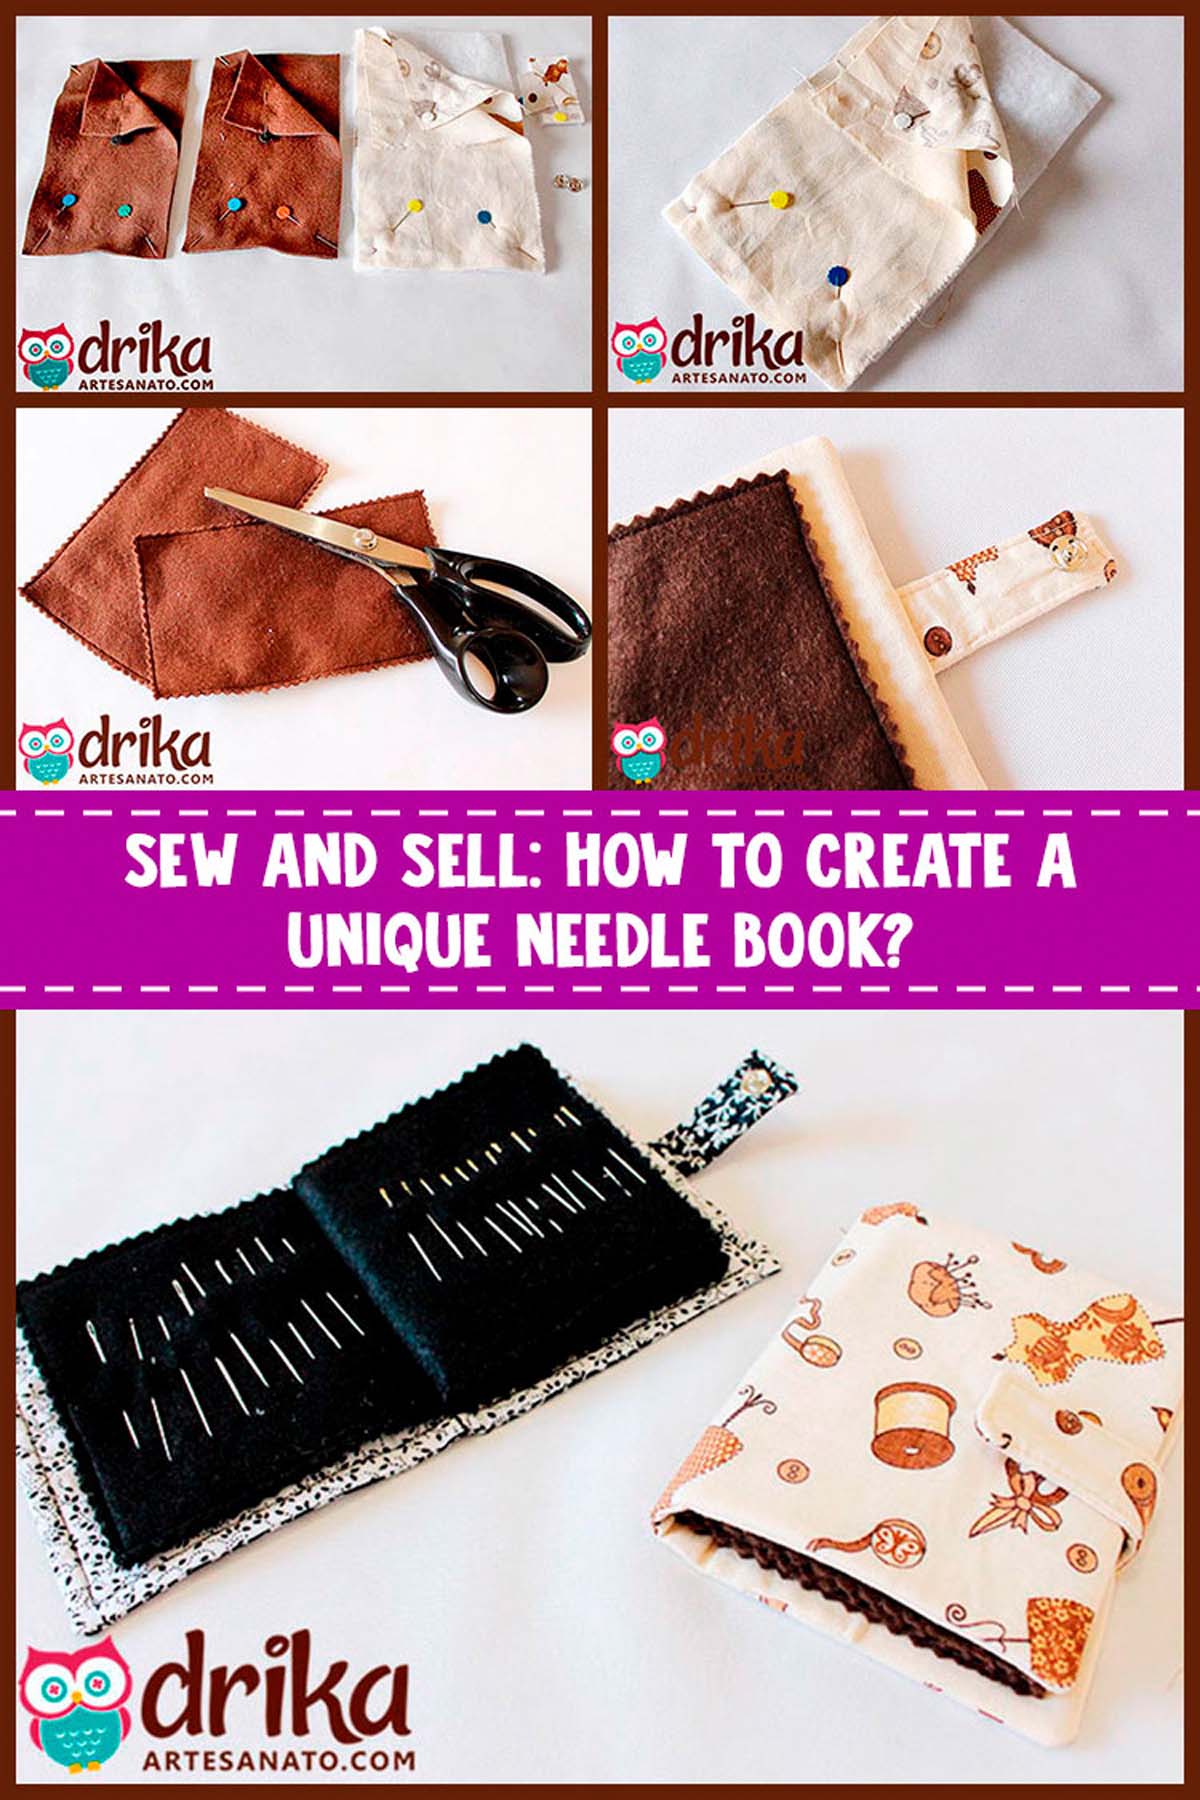
For anyone who sews, a needle book is a must-have! It’s super important to keep all your supplies organized—and that goes for felt and fabric crafters too.
Even outside of crafting, a needle book is handy. Almost everyone has a basic sewing kit at home for quick fixes and mending.
That’s why these are so popular and a great item to make if you sell handmade goods. There are tons of needle book designs out there, and the most creative, “cutesy,” and delicate ones are always a hit.
In this tutorial, we’ll show you how to make an absolutely adorable needle book using fabric and felt. Besides selling them, you can also make these for yourself, as gifts, or even as party favors for a housewarming, Mother’s Day, and so on.
The cost to make this needle book can vary depending on your materials, but you can definitely make a good profit.
So, grab your craft supplies and start making your own super cute needle book today!
How About a One-of-a-Kind Needle Book? Let’s Do This!
Pick your favorite fabric and create a unique needle book with this photo tutorial!
It’s a totally awesome way to organize your needles with a touch of charm, and you can even make some extra cash, right? Let’s dive in!
Materials List to Make Your Needle Book:
- Printed patchwork fabric, 100% cotton;
- or Solid patchwork fabric, 100% cotton;
- Felt;
- Acrylic batting R1 (with heat-activated adhesive on one side);
- Magnetic snap or hook and loop fastener;
- Disappearing ink fabric pen;
- or Tailor’s chalk;
- Hand sewing needle;
- Colored head patchwork pins;
- Rotary cutter for patchwork;
- Cutting mat;
- Patchwork ruler;
- Sewing thread, 100% polyester or 100% cotton;
- Sewing scissors;
- Pinking shears;
- Sewing machine;
- Iron;
Prepping the Cuts: Measurements and Materials Ready!
Using the rotary cutter, cutting mat, and patchwork ruler, let’s cut the following materials to the right sizes for our project:
- 4 pieces of felt, 4×6.5 inches, in your favorite color;
- 2 pieces of quilting cotton, 4.7×7.9 inches (can be different colors!);
- 2 pieces of quilting cotton, 1.2×2.4 inches (choose one of the colors you already used);
- Acrylic batting in two sizes: one 4.7×7.9 inches and another 1.2×2.4 inches.
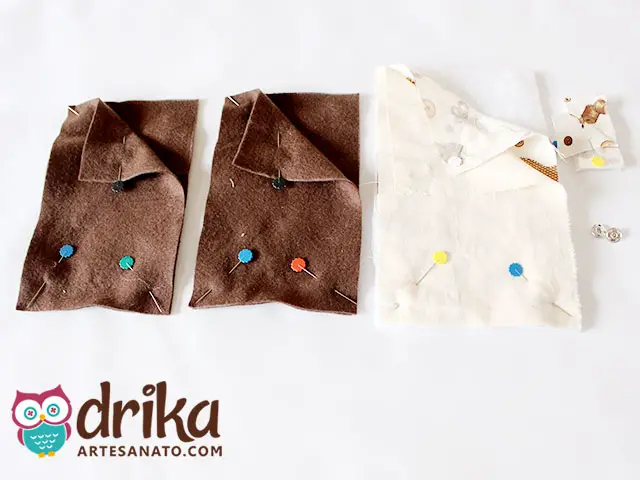
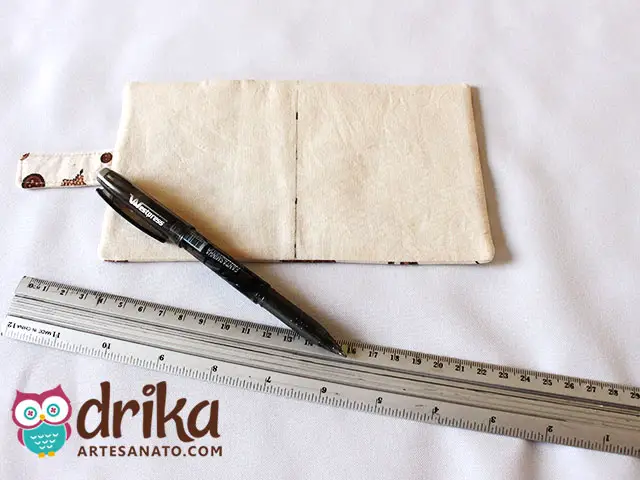
Now, let’s layer the fabrics and felts as shown in the picture below: two felt blocks pinned wrong side to wrong side, and the fabrics, both the large and small pieces, right side to right side, plus the batting.
Sewing the Tab of Our Needle Book
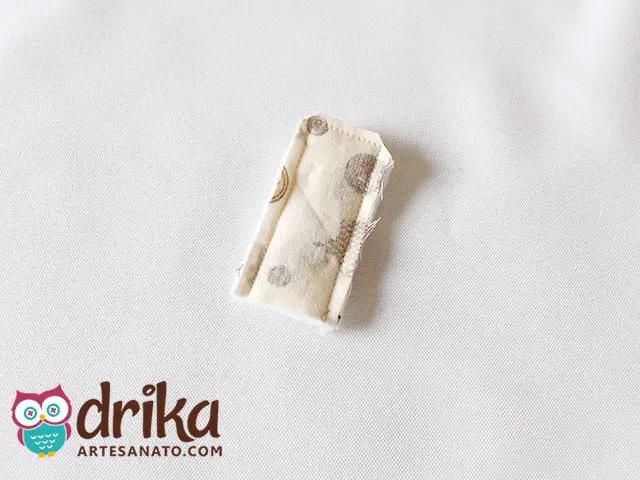
Let’s sew the smaller piece of fabric, which will be the tab for our needle book.
As you can see in the image, we only sew three sides, leaving one side open to turn the piece right side out.
It’s important to backstitch at the beginning and end of the seam to make sure it doesn’t come undone.
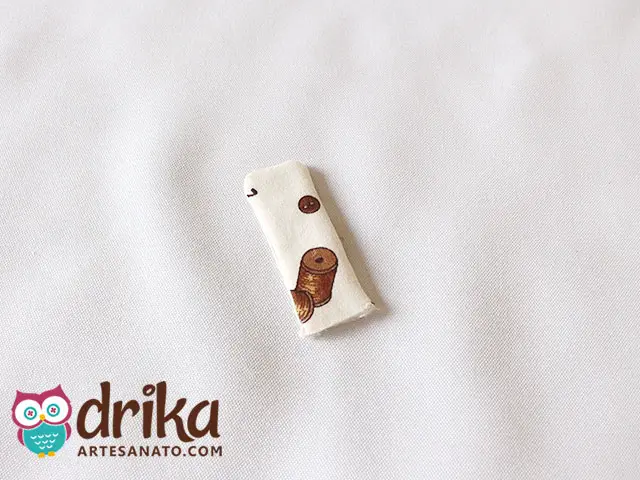
Turning and Shaping the Tab
After turning the piece right side out, we’ll iron it. This will help flatten the seams and make the tab nice and neat, with a flawless finish. Check it out!
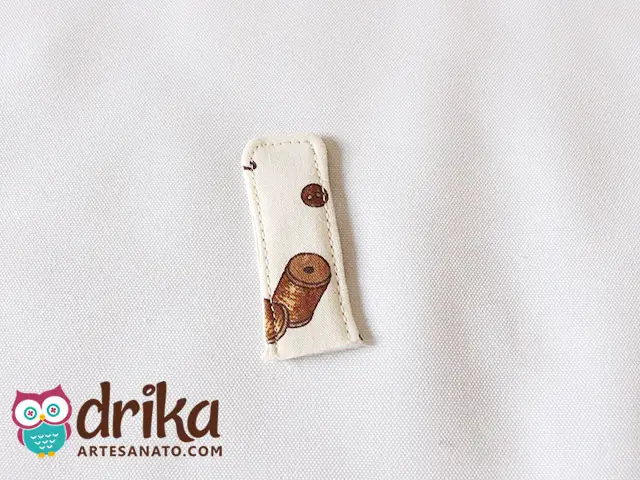
Finishing the Tab with a Charming Seam
Now, to add your personal touch to the tab, we stitch all the way around, right on the edge. This seam not only gives a prettier finish but also helps secure the layers of fabric and batting.
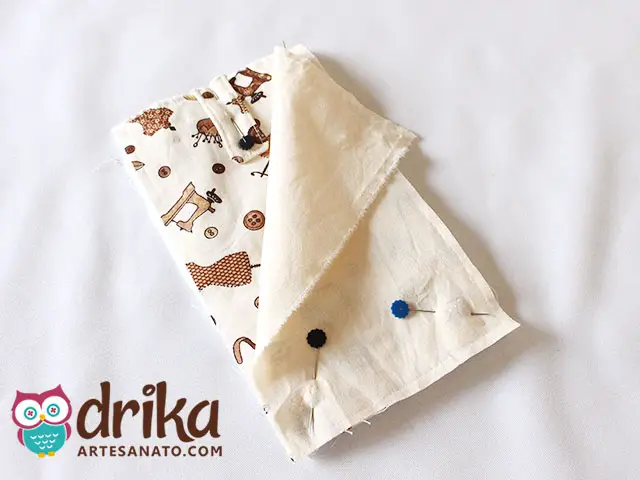
Assembling the Body of Our Book
Now let’s take the larger piece of fabric, which will form the body of our needle book. Remember that it will be layered like this: batting, fabric to fabric, right side to right side.
We pin everything to make sure the layers don’t shift during sewing.

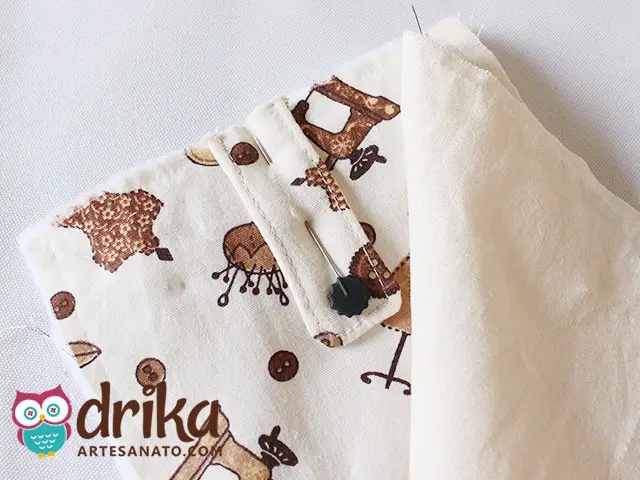
Pinning the Tab in the Right Spot
We’ll pin our smaller piece, already sewn, to one of the sides of the larger fabric, right in the middle.
In this case, since the print doesn’t have a set direction, it doesn’t matter which side you put the tab on. But, if your print has a direction, pay attention to position it correctly.
Taking a Closer Look Before Sewing
See here in detail how it will look before sewing. It’s important to double-check that everything is aligned and well-positioned before moving on to the next step.
This way, we ensure a perfect result!
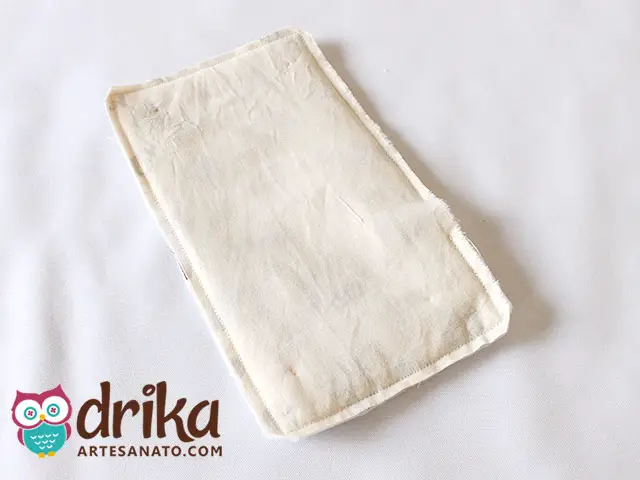
Sewing and Preparing to Turn
We’ll sew all the way around, using the presser foot as a guide. And we’ll leave a space unsewn, so we can turn the piece right side out.
And at this stage, we’ll cut the corners, to make it easier to shape after turning it right side out.
Backstitching: The Secret to a Seam That Won’t Unravel!
Don’t forget to backstitch before starting and after finishing the seam.
Because when we turn the piece right side out, there’s no risk of it starting to unravel. This small detail makes all the difference in the durability of our work!
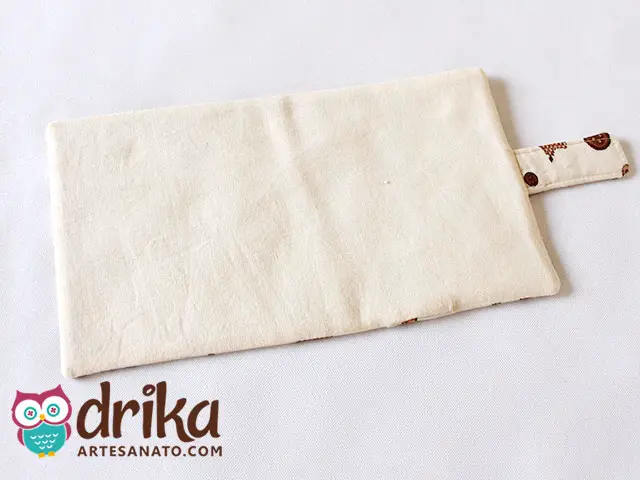
Turning, Ironing, and Closing with Love
At this point, you’ll turn the piece right side out, iron it, and close the opening with an invisible stitch.
The invisible stitch ensures a flawless finish, as if the seam never existed. Nail this step!
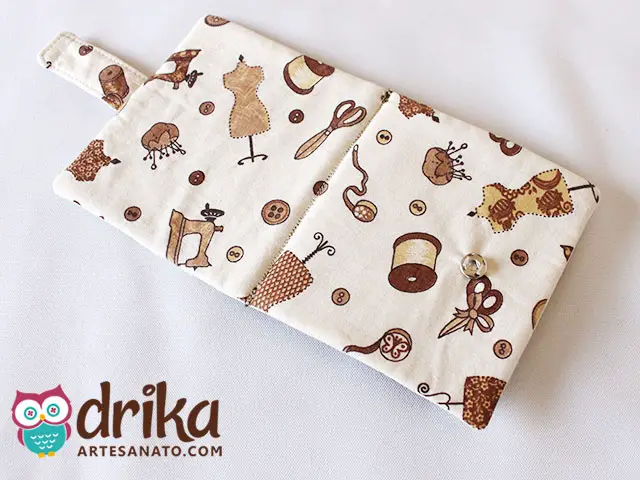
Admiring the Inside of Our Needle Book
Look at how the inside of our needle book turned out! At this stage, you can stitch all the way around, using the presser foot as a guide.
We won’t do it in this model, but at the end, you’ll see the other model and you can see that we did it on that one. This seam is optional, but it adds a touch of charm to the piece.
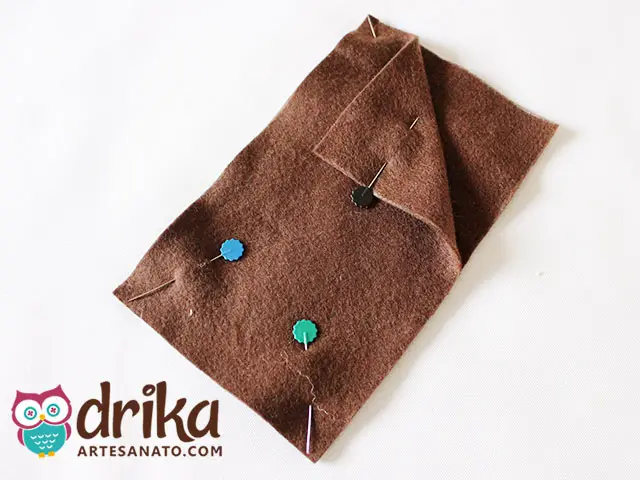
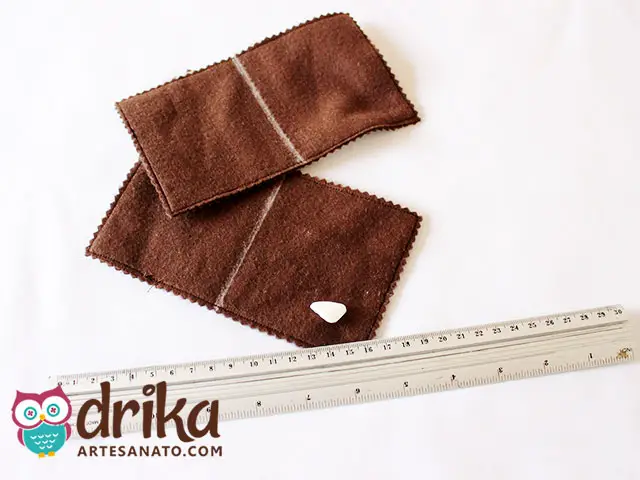
Preparing the Felt Pages
Now we’ll take the felts and sew all the way around. No need to leave an opening, as we won’t be turning them right side out.
This seam serves to give a prettier finish and prevent the felt from fraying over time.
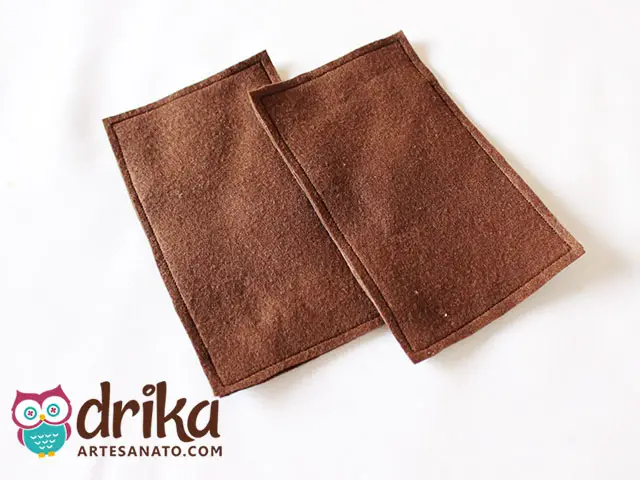
Sewn Pages: Almost Ready for the Book!
See how the two sewn parts will look. They’re already taking the shape of book pages, aren’t they? We’re almost there!
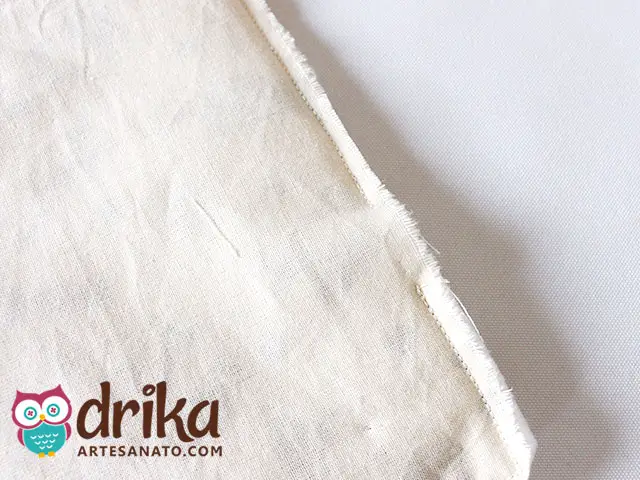
Pinking for a Special Finish
Let’s pink all the way around, to give a better finish. But if you don’t want to or don’t have the scissors, no problem, it can be without the pinking.
The pinking is a detail that makes all the difference in the look of the piece.
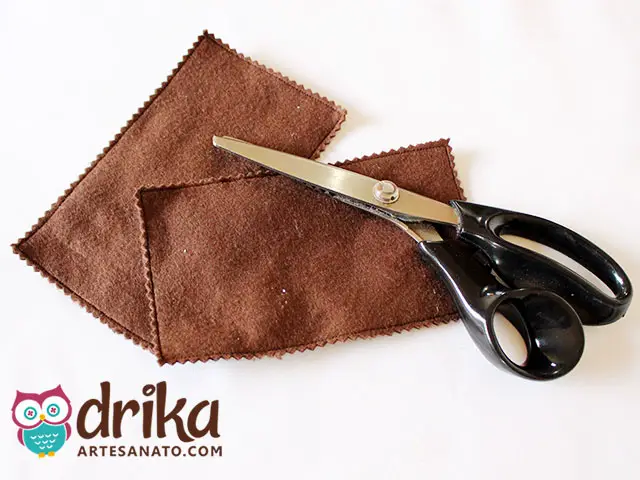
Details That Enchant: Pinking Up Close
See in detail how the piece will look with the pinking. It gives a more delicate and charming air to our needle book. If you have pinking shears, it’s worth using!

Marking the Middle for the Perfect Fold
Now we’ll mark the middle with the disappearing ink pen, on the inside of the book cover, as seen below.
This pen is great because the ink disappears with the heat of the iron, so we don’t have to worry about erasing it later.
Marking the Center of the Felt Pages
We’ll also mark the middle of the felts, but with tailor’s chalk. Tailor’s chalk is ideal for dark fabrics, as the marking is very visible.
This way, we ensure that the fold stays in the right place.
Aligning Everything for the Final Seam
We’ll pin the three parts together, using the markings as a base. It’s important that the markings are well-aligned so that the seam is straight and the fold is perfect.
Sewing the “Spine” of Our Book
We’ll stitch a straight line on top of the marking. This seam will join the felt pages to the cover and form the “spine” of our needle book.
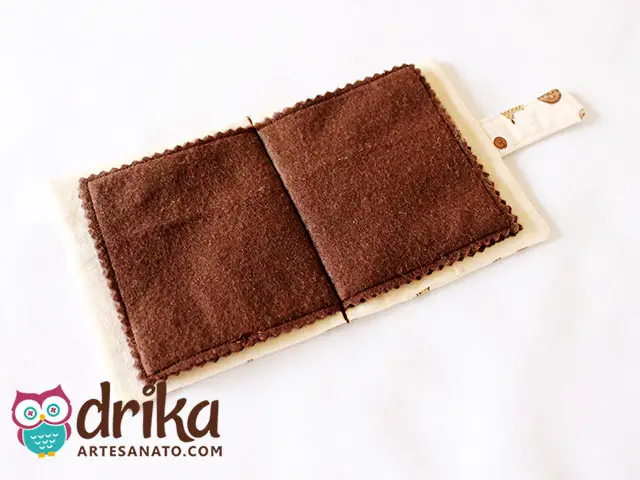
The Seam That Turns into a Fold: Sewing Magic!
See from the other side how the seam will look. It will also serve as a fold. This is the most important part of our project, as it’s what shapes the book.
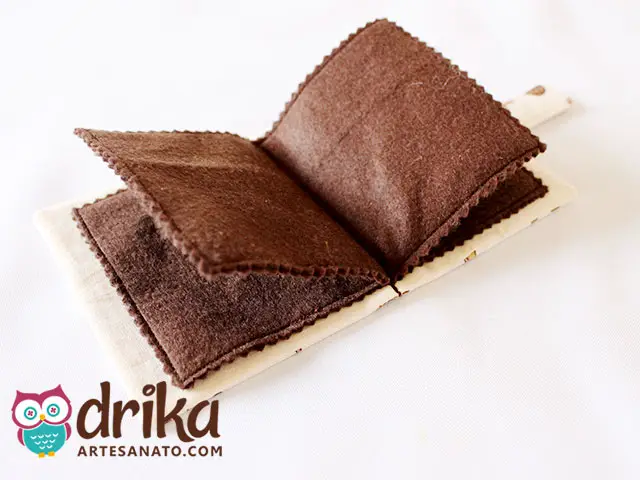
Almost Ready: Our Book Coming to Life!
Look how cute our book is getting, we’re almost done! You can already imagine how beautiful it will look with the needles organized, right?
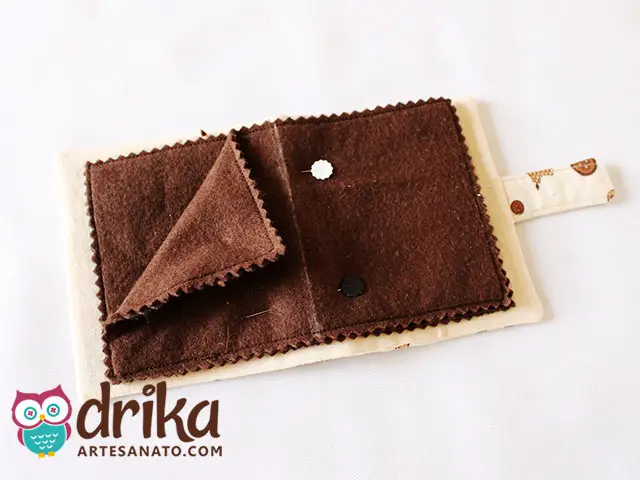
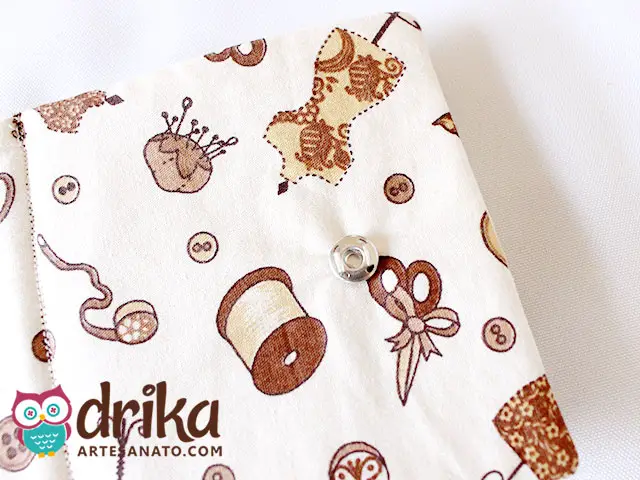
Attaching the Snap to Close with Charm
We sew one side of the snap to the inside of the tab. The snap will be the closure of our book, ensuring that it stays tightly closed and the needles are secure.
Marking and Sewing the Other Part of the Closure
Here we’ll mark where our tab will go with the snap and sew the other part of the snap.
It’s important to mark the spot well so that the closure is aligned and works perfectly.
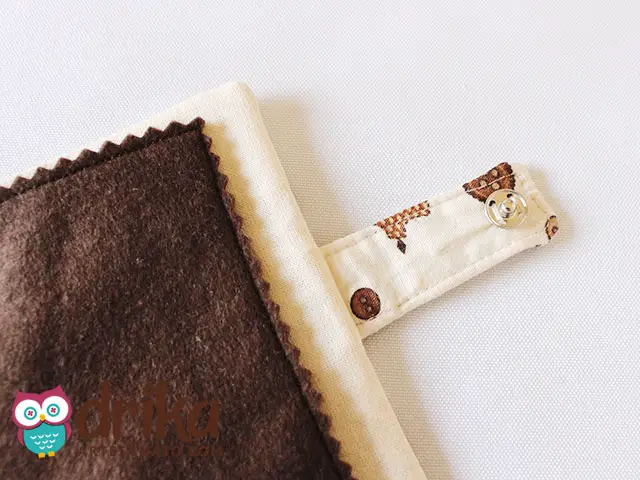
Details of the Snap Seam
See better how the seam will look. The important thing is that the snap is well-attached so that it doesn’t come loose with use.
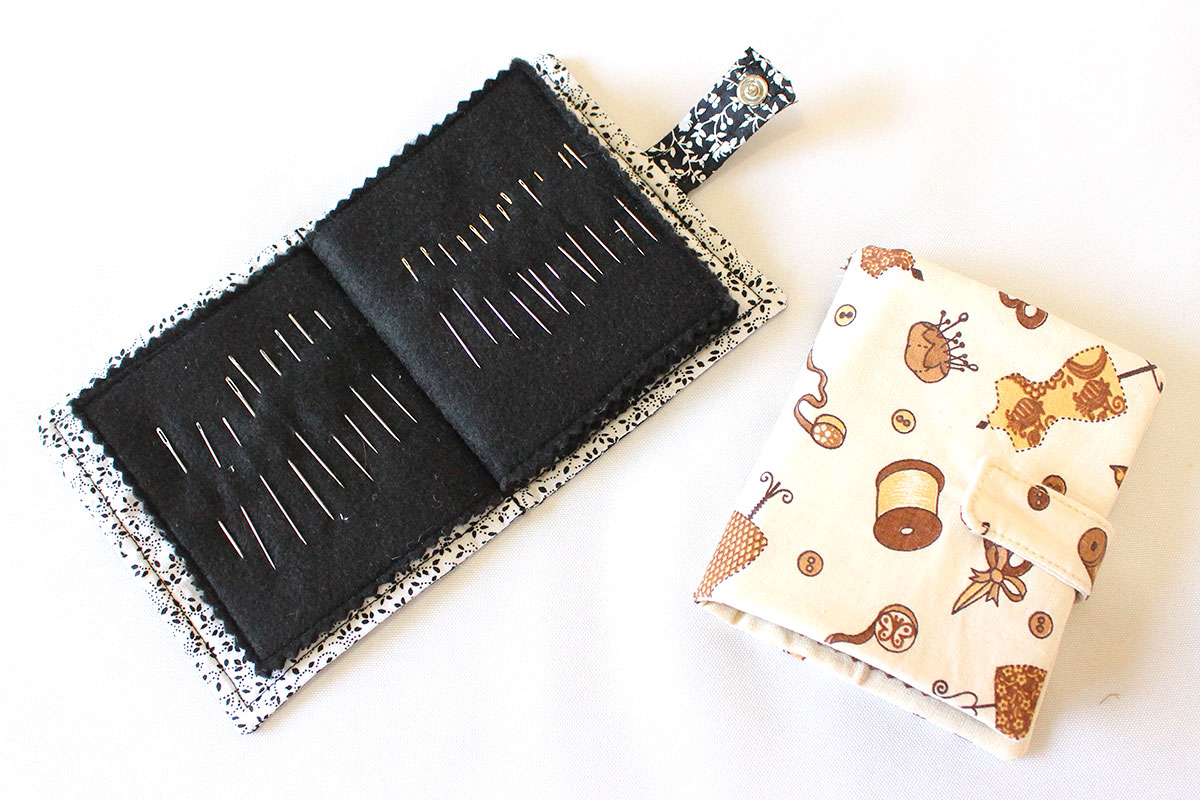
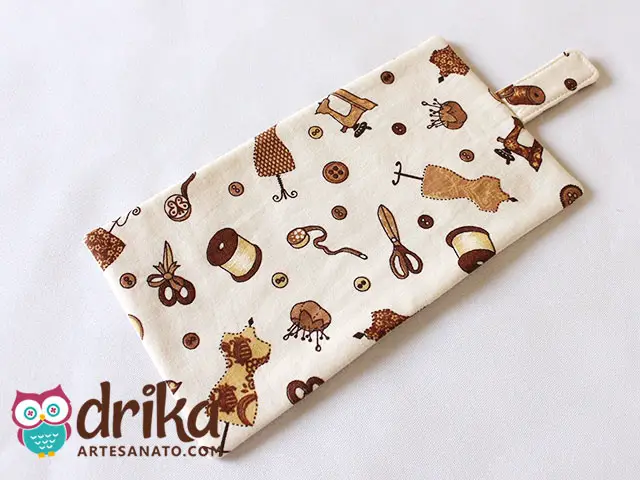
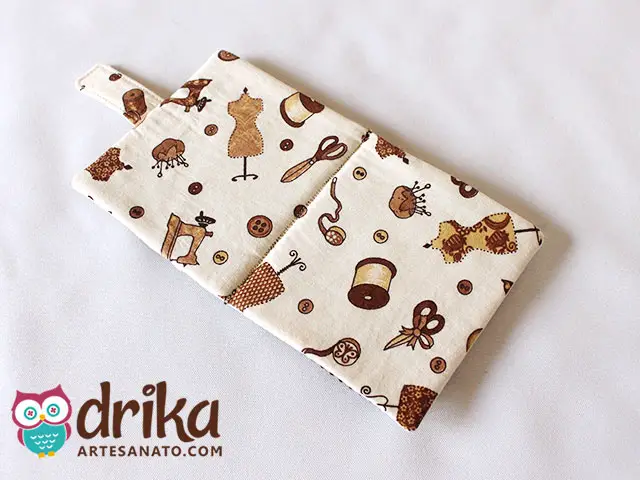
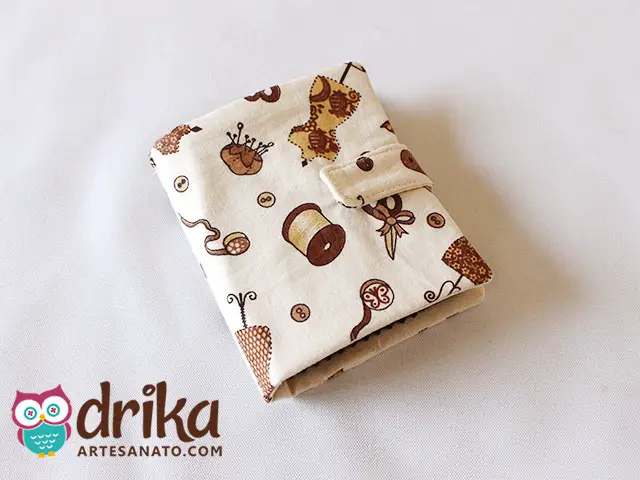
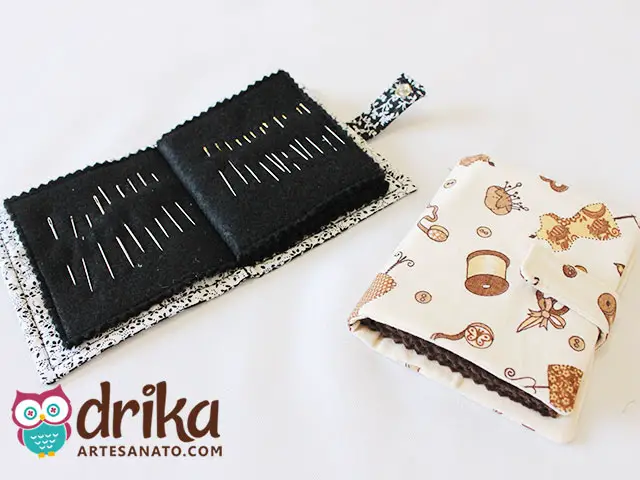
Needle Book Ready: Organization with Cuteness!
And our Needle Book in the shape of a book is ready! A charming and practical way to organize your needles and have everything at hand when sewing.
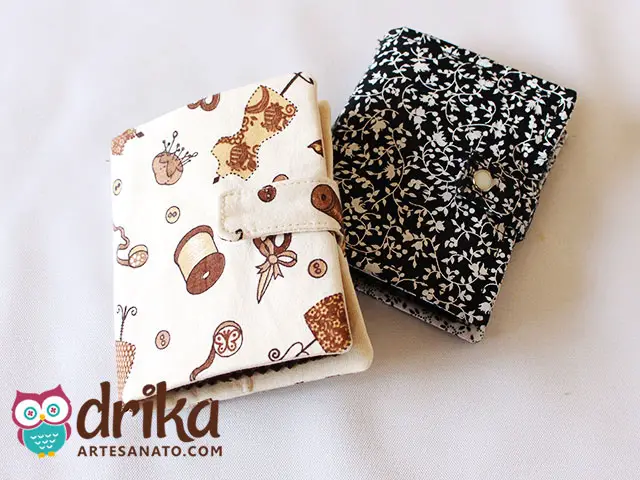
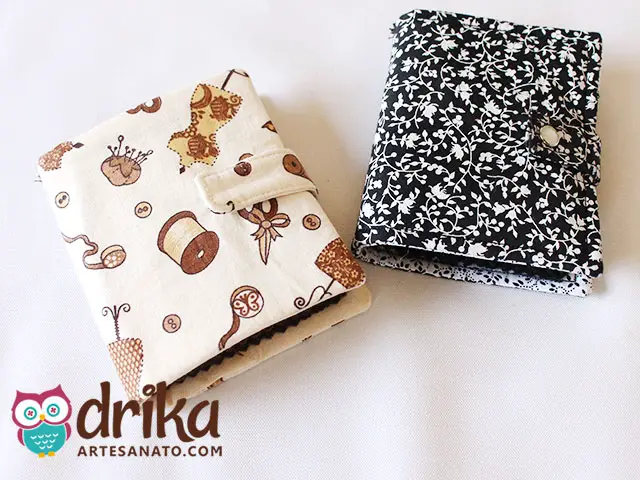
Another Model to Inspire You
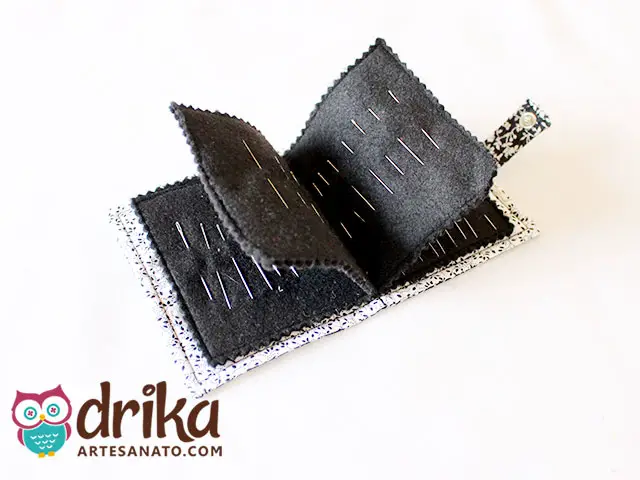
As we said above, in this other model in black, we sewed all the way around the fabric.
This is an option for those who want a more reinforced finish or a different look.
Needles in Place: Everything Organized and Visible!
See here how the needles are organized. Each one in its place, making it easier to choose and preventing them from getting lost.
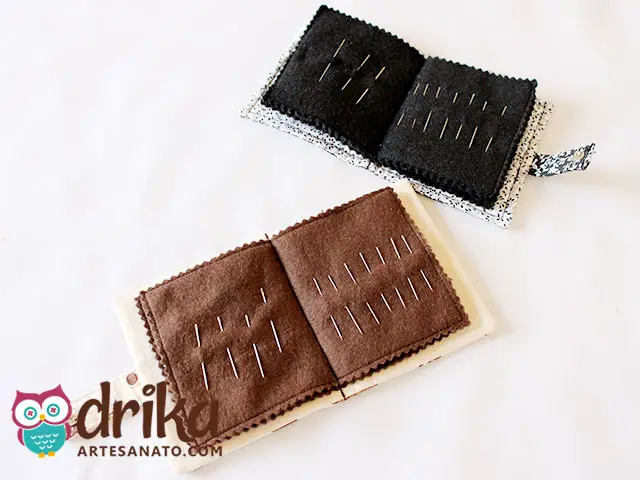
Compartments for All Needle Sizes
And with many compartments to organize them! This way, you can separate the needles by size or type, making organization even easier.
Obsessed with Both Models: Which is Your Favorite?
I’m obsessed with both! Which of the models did you like best? The important thing is that both are practical, charming, and perfect for organizing your needles.
Super easy, right? Start separating your fabrics and felts now to make yours, to give as a gift or even sell. It will be a great hit!
We have many other articles made with fabric and that are a great option for gifts, which you can check out by checking here!
And if you want to check out the other articles made with felt and that are super easy to make and a great option for selling, you can check them out by checking here!
Loved the Tutorial? Share This Idea!
Did you love this tutorial? Save it for later or share it on Pinterest to help us reach even further!
This way, more people can learn how to make this beautiful needle book and organize their needles with so much charm!