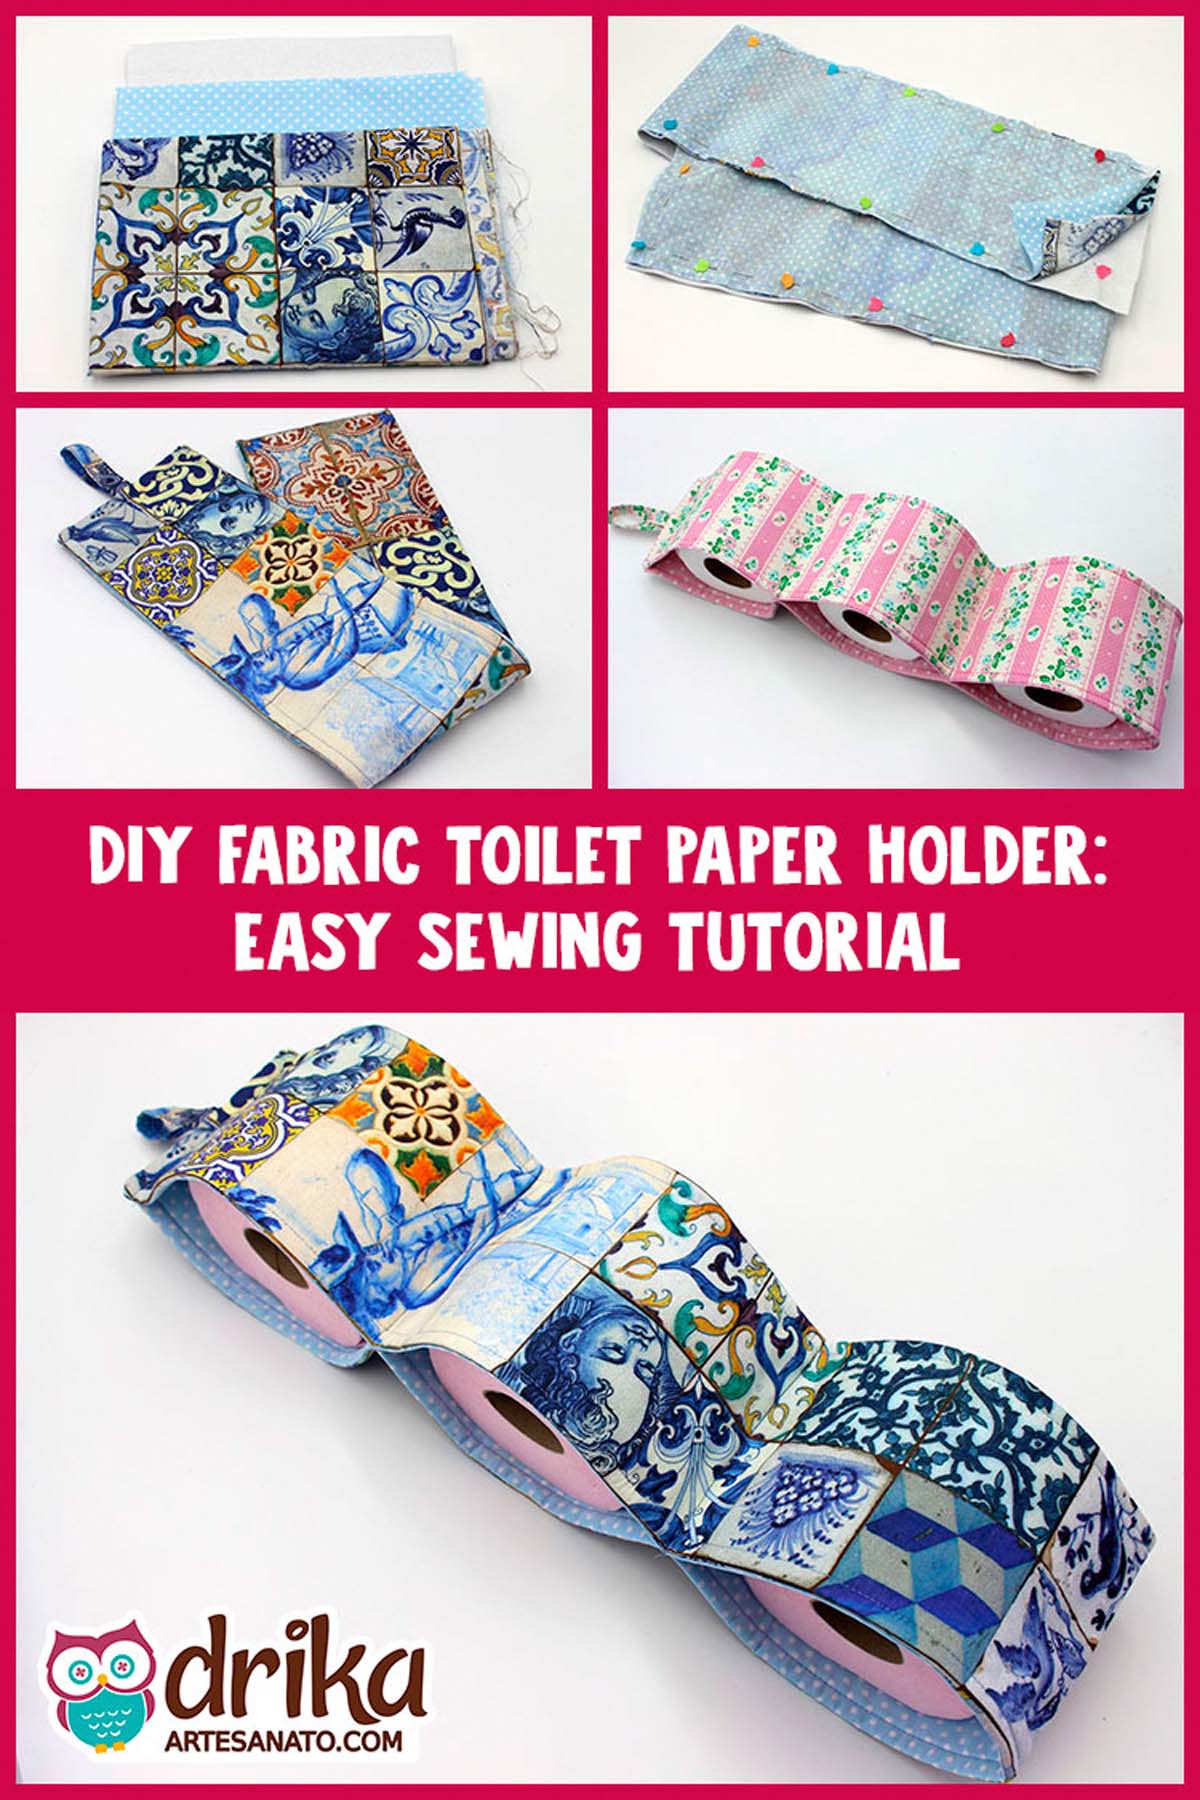
What if, instead of just storing toilet paper, we added a touch of charm and color to the bathroom? Check out this super cool idea: a fabric toilet paper holder, made entirely by you!
With a super simple tutorial, using patterned or solid cotton fabrics, batting, and some basic sewing supplies, we’ll transform a functional item into a decorative piece that matches your style.
And the best part? You can even put together a complete kit, matching it with a fabric soap holder that we also show you how to make!
Besides being a super fun project to make, this idea can earn you some extra cash. How about taking the opportunity to create unique pieces and sell them on Etsy?
Curious to know how? Then come with us to discover all the details of this creation!
How about we make the first stitch in our project?
Don’t wait any longer! See the tutorial to the end, choose your favorite fabric, and let’s start making this beautiful fabric toilet paper holder! I’m sure you’ll love the result.

Supply List to Make the Fabric Toilet Paper Holder:
- 2 Patterned Patchwork Fabrics 100% Cotton;
- or 2 Solid Patchwork Fabrics 100% Cotton;
- Batting (with fusible resin on 1 side);
- Magic Chalk;
- or Disappearing Ink Pen for Fabric;
- Rotary Cutter for Patchwork;
- Patchwork Ruler;
- Cutting Mat;
- Colored Head Pins for Patchwork;
- Sewing Scissors;
- Sewing Thread 100% Polyester or 100% Cotton;
- Sewing Machine;
- Iron;
Separating the materials so nothing is missing!
Let’s start by separating our craft supplies so that nothing is missing during the making. This way, you avoid pauses and ensure that creativity flows freely!
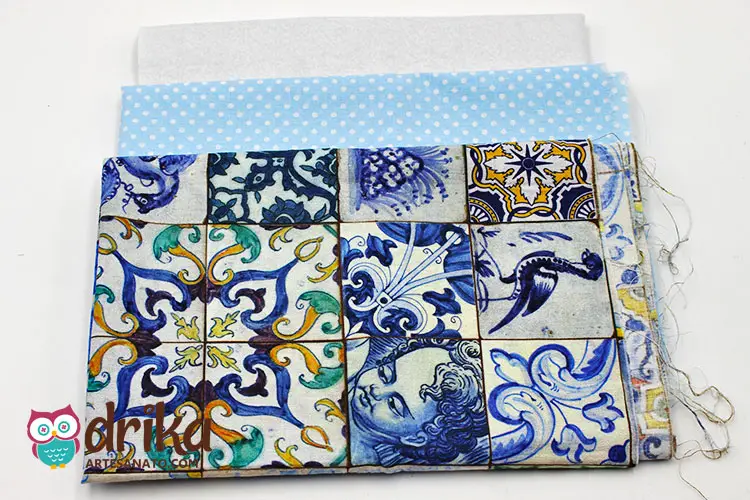
Cutting the fabrics and batting to the correct measurements
Using the cutting mat, patchwork ruler, and rotary cutter, let’s cut 2 strips of fabric in different colors or prints and one of batting in the size of 5.5 inches x 48.8 inches.
If you don’t have this size, you can cut strips of 5.5 inches x 24.8 inches and sew two parts together.
And for the handle, cut a strip of fabric in the size of 2.3 inches x 7.8 inches.
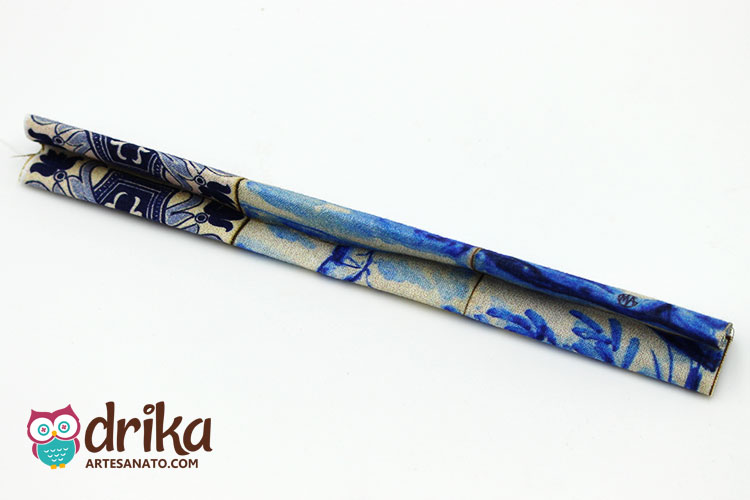
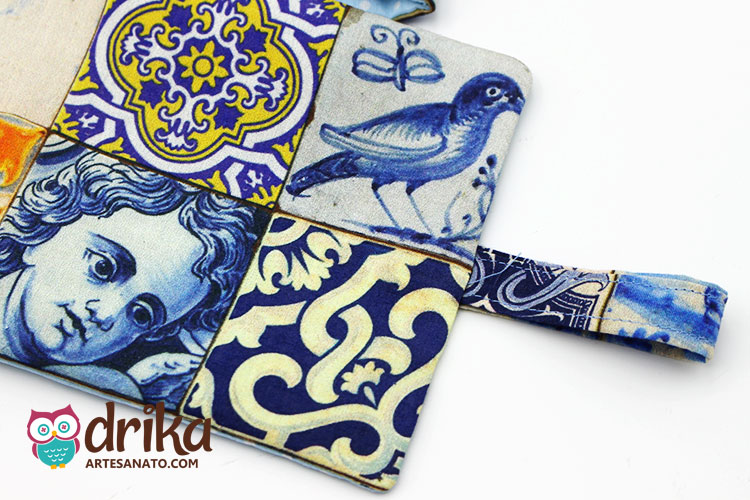
Preparing the handle with all the care
Let’s start with the handle. Fold the fabric strip for the handle in half, and then fold the sides inward once more.
Iron it to make it neater.
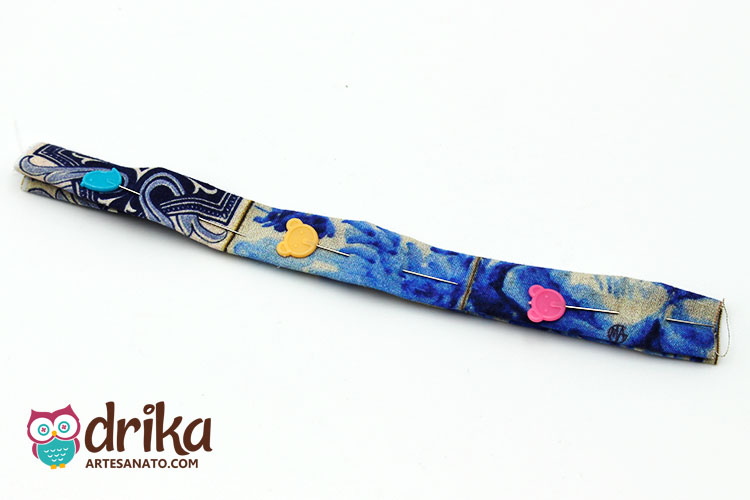
Fixing everything with pins to facilitate sewing
We pin it to make it easier to sew. This way, the fabric doesn’t slip and the sewing stays well aligned.
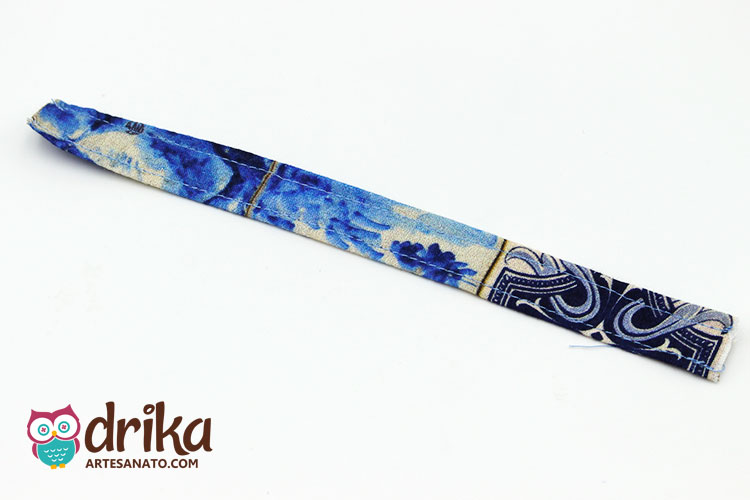
Sewing the handle carefully so it doesn’t become crooked
We sew a straight stitch on both sides of the handle. Remember to sew only in one direction, so it doesn’t become crooked. The tip is to start and finish the sewing on the same side.
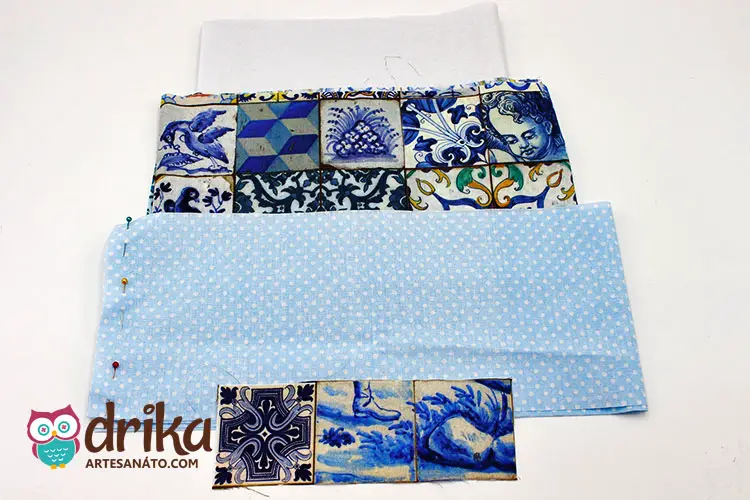
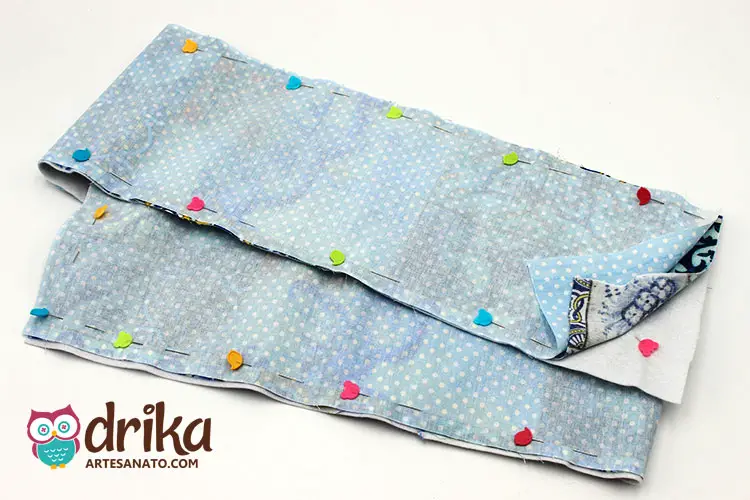
Joining the fabrics and batting for sewing
Now let’s join the fabric strips and batting to sew them. It will look like this: batting and the fabrics right sides together, as you can see in the image.
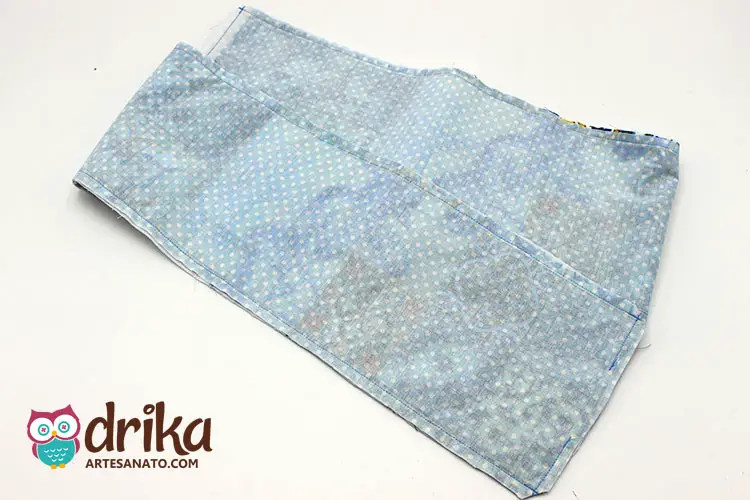
Sewing the sides and preparing to turn it right side out
We sew a straight stitch on all sides, leaving an opening to turn the piece right side out.
We cut the corners so that, when we turn it right side out, the tip is neater. Remember to sew only in one direction, so it doesn’t become crooked.
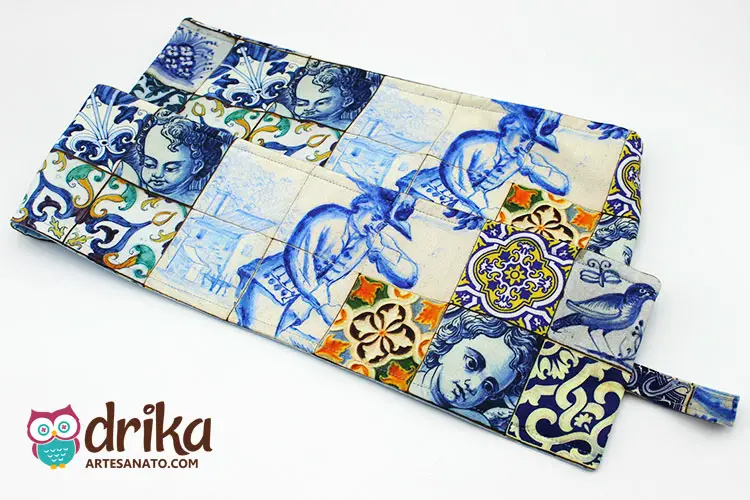
Turning the piece right side out and ironing for a perfect finish
We turn the piece right side out, iron it, but we haven’t closed the opening yet. It’s important to iron well to remove any wrinkles and leave the piece well settled.

Positioning the handle for fixing
We place the handle folded in half in the opening of the piece, well centered. This way, it stays firm and in the right place.

Attaching the handle with an invisible stitch and closing the opening
And we sew with an invisible stitch to attach the handle and close the opening. The invisible stitch ensures an impeccable finish, without leaving the seam apparent.
Reinforcing the seam on the sides for greater durability
Now we sew a seam on the sides, using the machine foot as a guide. Remember to sew only in one direction, so it doesn’t become crooked.
Folding the strip in half to mark the divisions
Let’s fold our strip in half and pin the top part to sew. This fold will help us create the divisions for the toilet paper rolls.
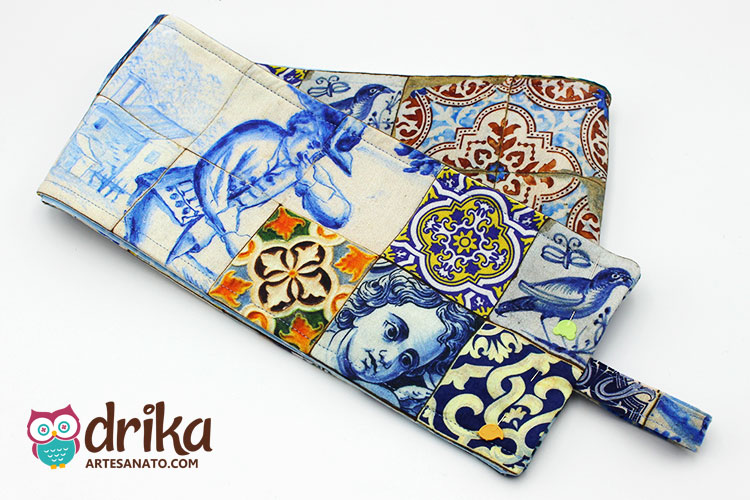
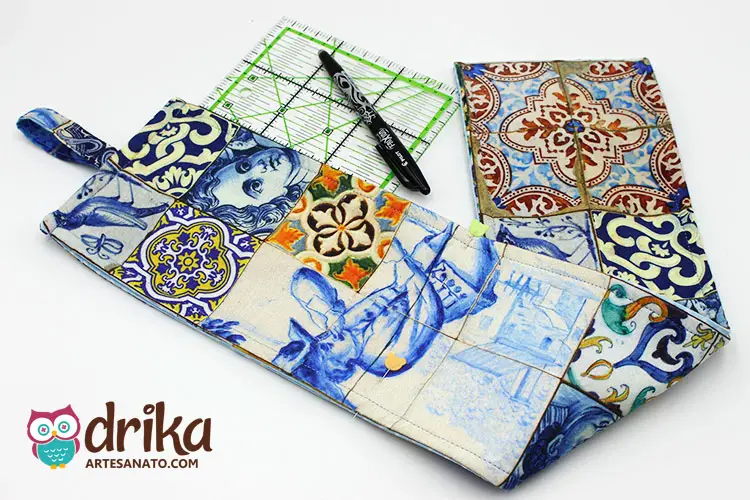
Marking the divisions with the disappearing ink pen
We sew a straight stitch only on the top part, attaching the two parts.
We will mark with the disappearing ink pen about 7.8 inches more or less from the top seam.
There will be 2 marks that will divide the piece into three parts.
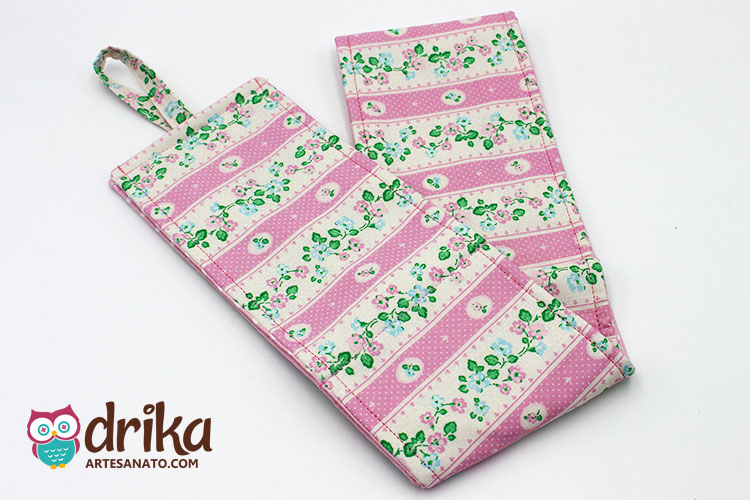
Toilet paper holder finished and ready to use!
We sew a straight stitch over the marks we made, joining the two parts. And our fabric toilet paper holder is ready!
See how easy it is?
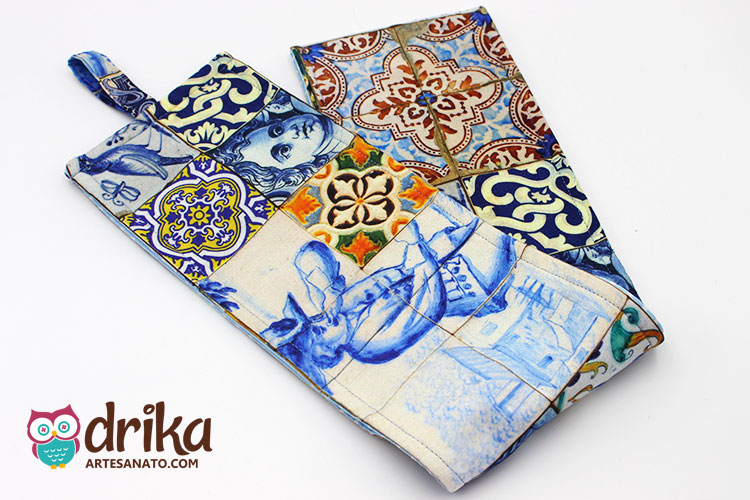
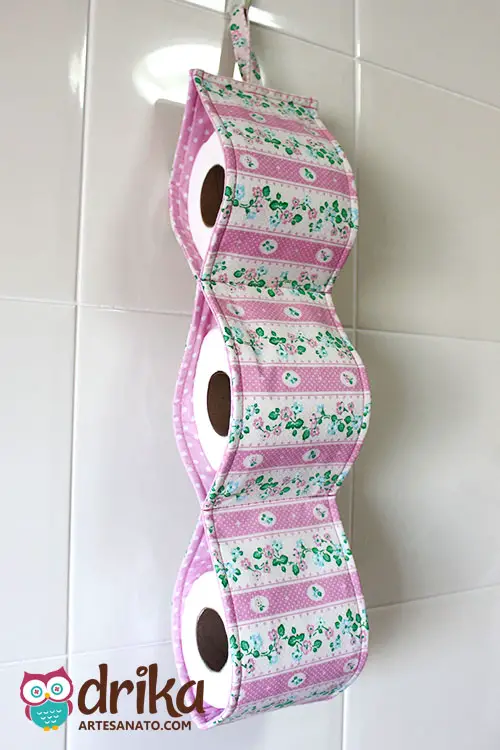
Another color option for you to get inspired
We made this other model changing the colors of the fabric. Get creative with it and combine the colors that you like the most to create a unique piece!
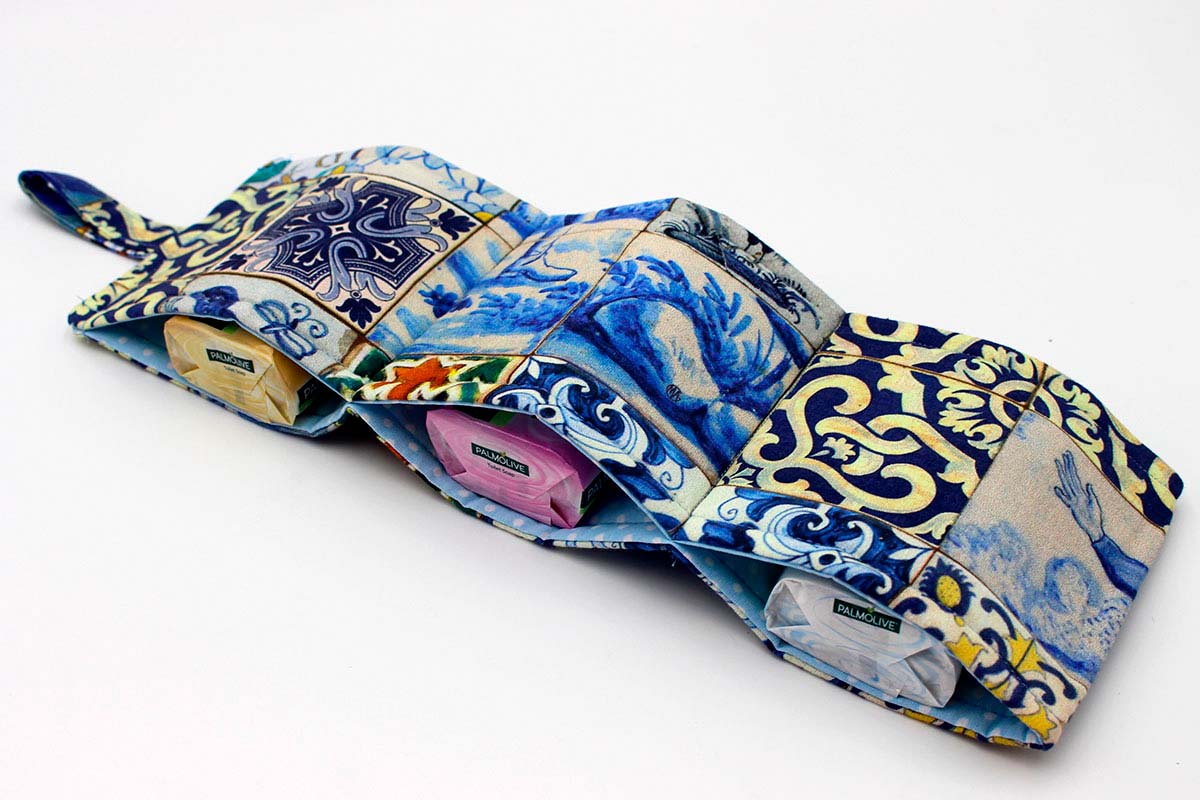
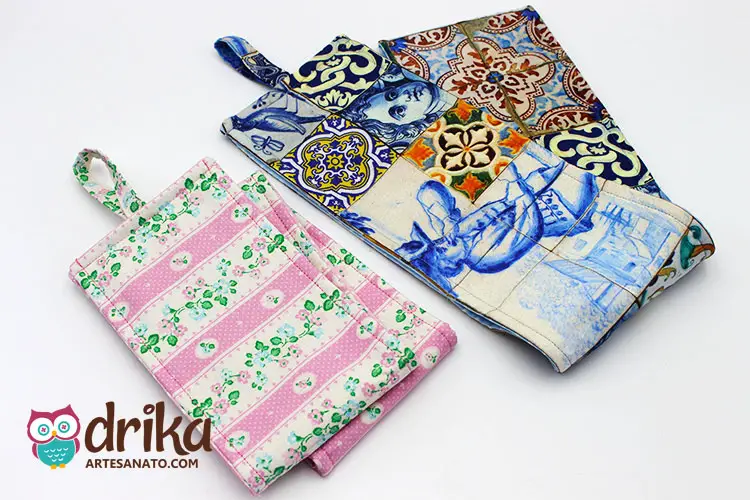
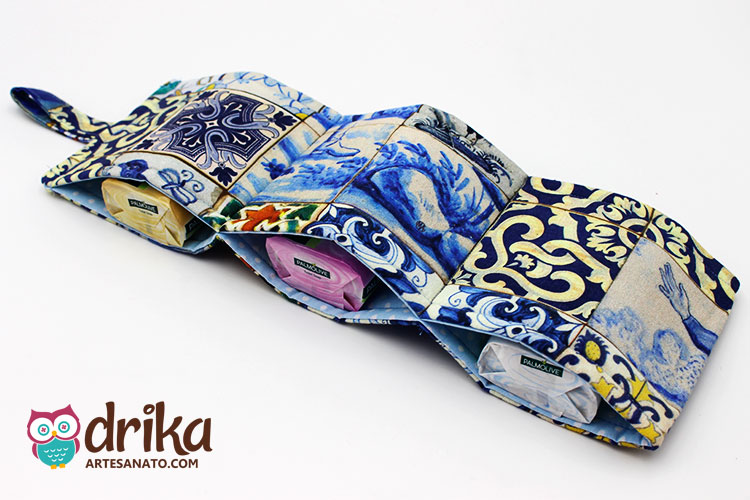
How about a matching kit for your bathroom?
See how cute our two pieces are! You can make the toilet paper holder matching your bathroom. A touch of charm and organization for your little corner!
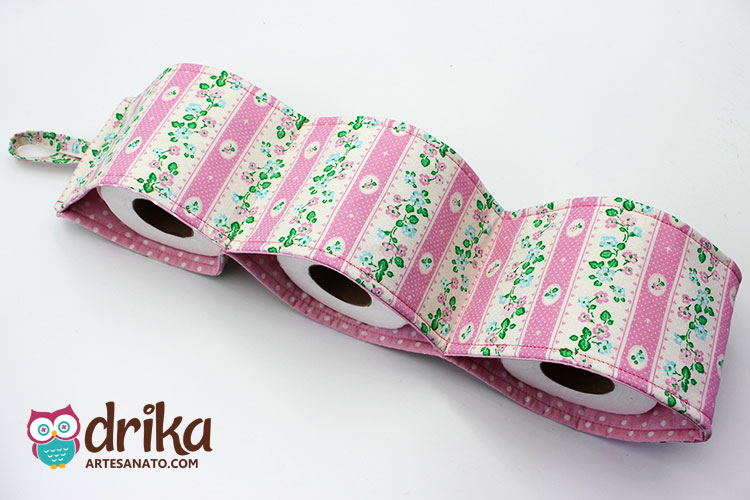
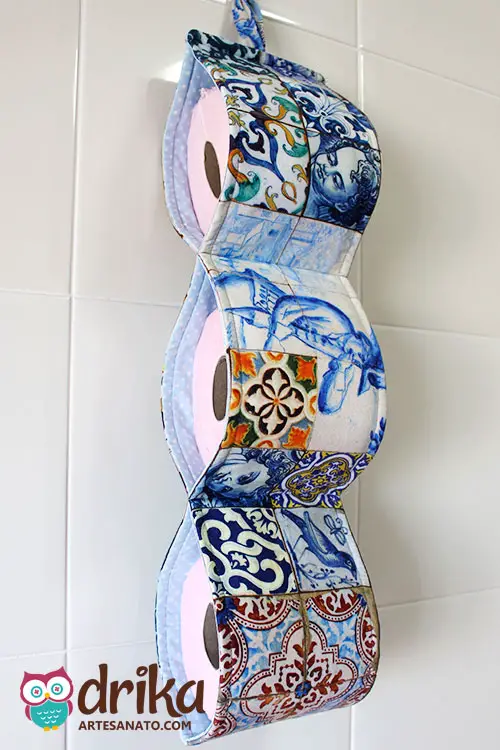
Testing the fit of the rolls in our toilet paper holder
See how the toilet paper rolls look in the piece we made. Practical, functional, and it also decorates the environment!
Visualizing the other model with the paper rolls
And here’s how this other color looks with the toilet paper rolls inside. A more delicate and romantic option for your bathroom.
Imagine how beautiful your bathroom will look with this piece!
Look how cute it will look hanging in your bathroom. A detail that makes all the difference!
A touch of color and delicacy in your bathroom
And this other one in pink, how cute it looked hanging! Very delicate, isn’t it? A charm that enchants!
To match: super cute fabric soap holder!
We also made a fabric soap holder to match the toilet paper holder. To see the complete tutorial, just click on the button below the photo.
Share this idea and help inspire more people!
Did you like this tutorial? Save it for later or share it on Pinterest to help us reach even further!
I hope you enjoyed this tutorial. Now just separate the materials and make beautiful pieces for your bathroom.
As this is a very popular topic, we have produced several articles on Craft Tutorials. It’s worth a visit!